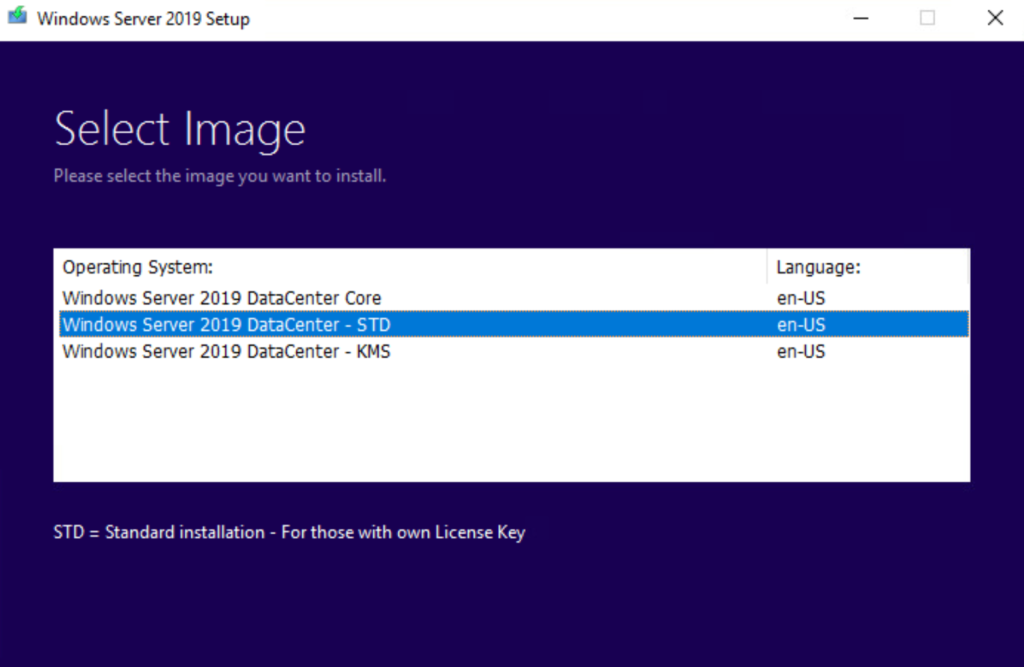
Recently I started running through several of my Windows Server 2016 builds to do in place upgrades to Windows Server 2019.
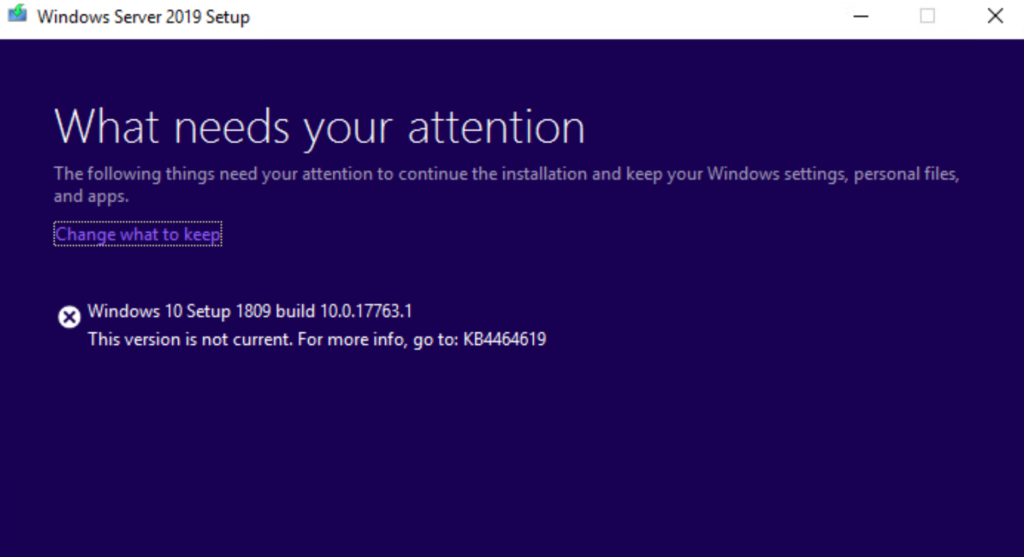
During the install process, I would run into an error stating Windows 10 This Version is not current. After reading several articles and patching all systems to current, I still ran into there error while trying to upgrade. I even tested several release builds of Windows Server 2019 media from Microsoft to no avail.
The Fix!
At the end of the day, no matter the version of Windows Server (Data Center, Standard, Core etc), the resolution was to disconnect the network cable. You can possibly get away with removing the gateway from the network settings, but for the most part you want to assure the machine has no internet connectivity. In my case, as these are VM’s, I just disconnected the network adapter and re-ran the setup from the start.
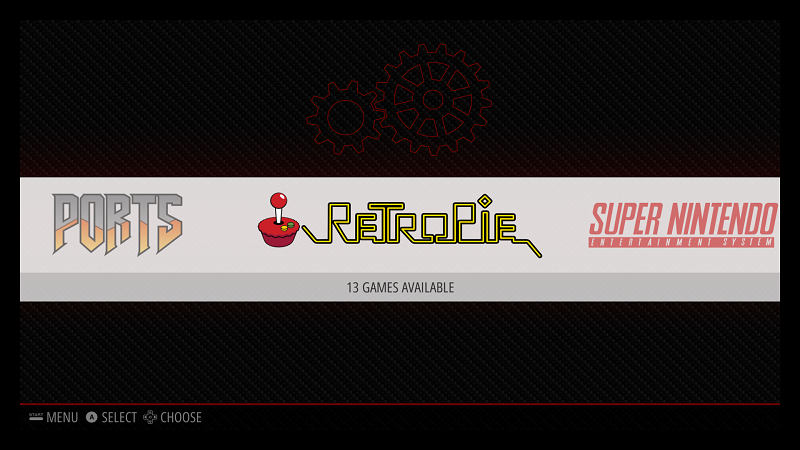
Most RetroPie images you download wont take advantage of all the free space on your SD card, so how do you expand the partition to utilize the remaining space? raspi-config is the option we are looking for!
This menu can either be accessed from the main menu once everything is booted.
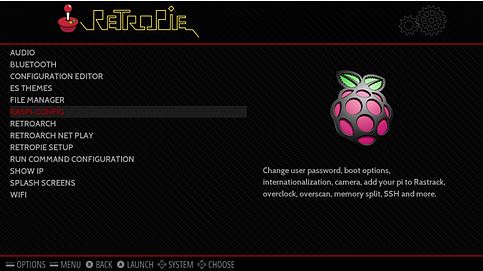
First Navigate to the RetroPie Settings menu
From here you can access raspi-config
It is also possible to access this menu from command line and an SSH session.
Once you are at the command prompt running the following command will load up the raspi-config menu.
sudo raspi-config
Once in the raspi-config menu, you will want to navigate to (7) Advanced options (A1) Expand Filesystem
This will all be pretty automatic, it will grow the file system to take up the remaining space on your SD card. Once complete, choose OK at the reboot warning, Finish and then allow the device to reboot.
Once rebooted your Retropie setup will utilize all available space on your SD card for ROMs and other data!
Extend the capabilities with your RetroPie device by adding a full blown Desktop environment for web browsing and other applications! It’s actually fairly easy, and used to be included with RetroPie, Pixel Desktop Environment (formerly known as LXDE).
From either an SSH session, or directly at the console of your Raspberry Pi, you first want to load up the RetroPie-Setup Script. (To enable SSH, follow our guide)
First we want to run the RetroPie-Setup script, to do so you can use the following;
cd ~/RetroPie-Setup
sudo ./retropie-setup.sh
Once in the RetroPie-Setup screen, we want to navigate to;
I recently started using Unified Remote fro several of my Media Center devices and other computers through out my home, this includes my security console as well as all TVs and some various other devices. I have a Raspberry Pi Zero W that I’ve configured for use as a portable desktop PC, and is perfect for traveling and hotel stays, yet I didn’t want to lug around a keyboard and mouse or additional hardware.
It turns your cell phone into a keyboard, mouse, game controller or other remote control functionality! It does require a server component to install on each device you wish to control, but lucky for us there is a Raspberry Pi version.
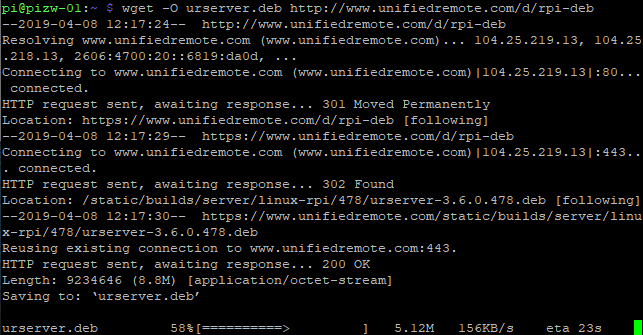
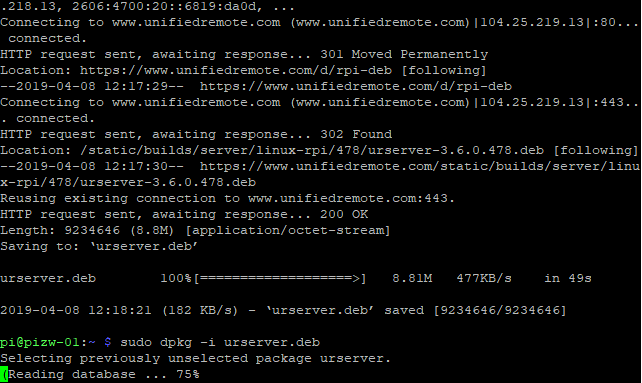
To install, you can follow these simple command lines to get everything up and running.
Once installed, you may need to start the service for the first time.
sudo /opt/urserver/urserver-start
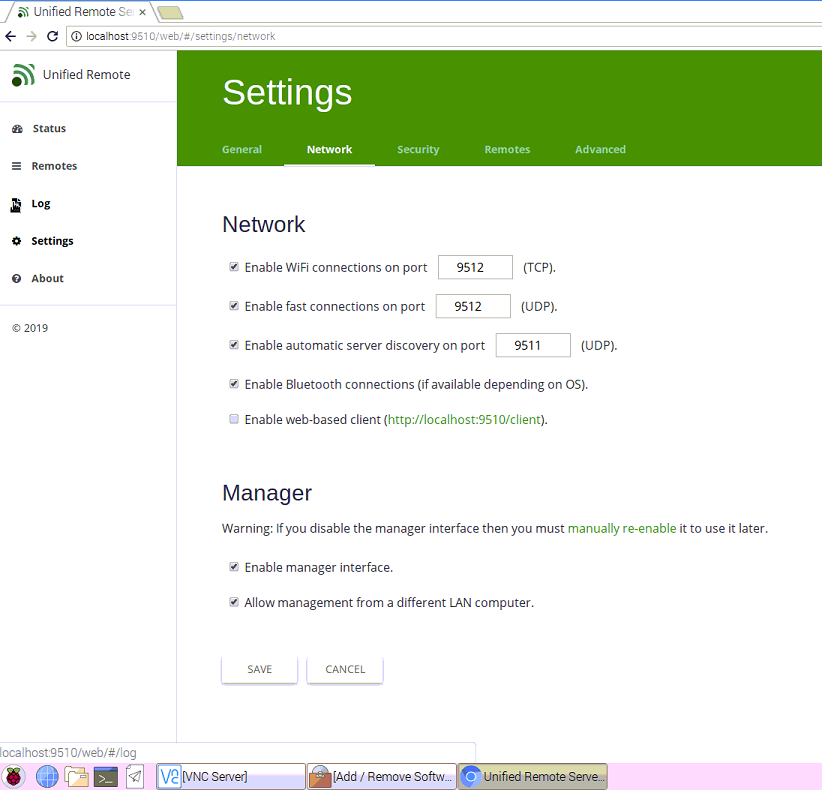
After the service has been started, you can either navigate to the management console on the Pi itself via http://localhost:9510/web or with the IP address of your Raspberry Pi device http://<IPAddress>:9510/web
This console will allow you to configure WiFi, Bluetooth and WebUI connectivity, set passwords and other functionality.
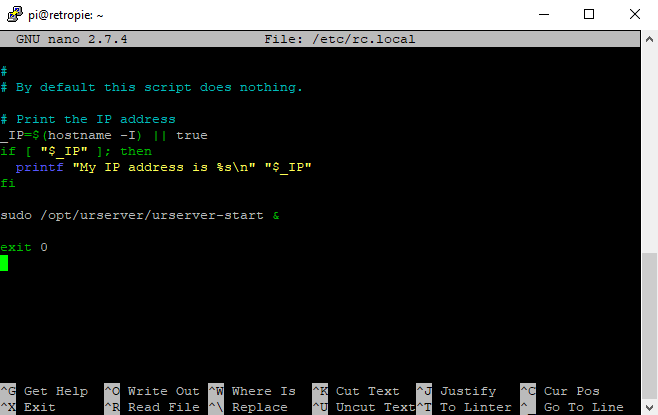
If you aren’t booting to a desktop environment, and instead booting to something like RetroPie, you may need to set the service to start with rc.local. To do so, you can do the following.
sudo nano /etc/rc.local
And add the following line, being sure to include the & at the end.
Accessing your RetroPie project over SSH allows you to configure drivers, software and settings with out having a keyboard or even a screen connected to your Raspberry Pi.
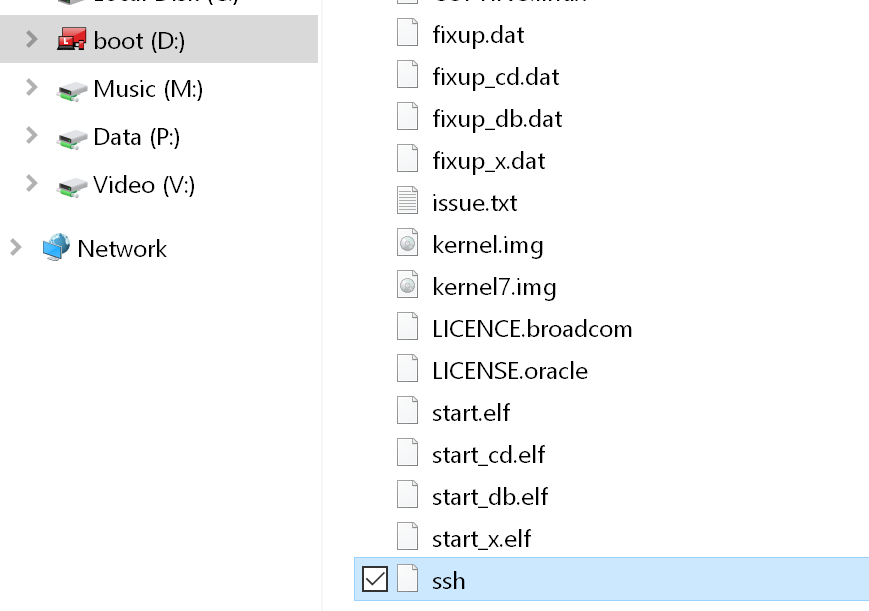
You can enable SSH from the Boot folder of the SD card, first we must put the SD card in our computer and open the Boot folder.
Create a file in this folder called ssh with NO extension (no .txt, no .conf, no extension)
Once this file is created, you can boot your RetroPie Raspberry Pi build and access the device over SSH to do the work and configuration you need to. If you are a Windows user, be sure to check out PuTTy to access the device over SSH.
The default hostname for Retropie is, retropie And the default username and password are pi / raspberry
If you would like to setup your WiFi in the same way, check out our WiFi guide.
Looking to connect your RetroPie project to your WiFi, but have no display or keyboard connected? RetroPie allows us to place a file called wpa_supplicant.conf in the boot folder of the SD card.
Connect your SD card to your computer and open the Boot folder.
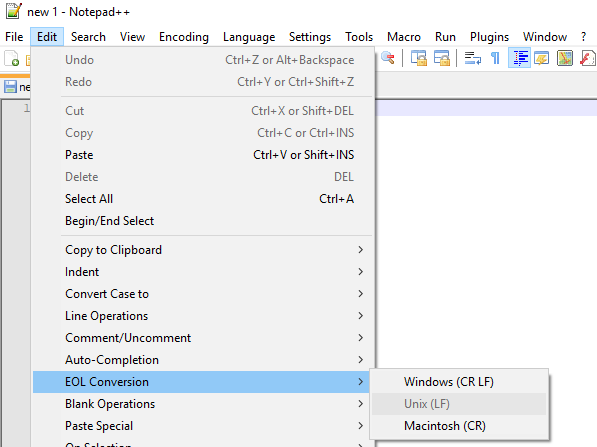
Create a file called wpa_supplicant.conf in this folder, I use notepad++ to assure compatibility with the RetroPie OS. For best results, set the End Of Line conversion to Unix (LF)
And add the following text, be sure to modify the settings to match your network and location.
Save this file and your ReptroPie device should now boot and connect to your network. By default the device name is retropie , and you should be able to locate this on your network.
This is assuming you are using WPA and RetroPie 4.1 or higher for your build.
Are you running Plex Media Server on FreeNAS as a plugin, but don’t like waiting for the updates from FreeNAS? PMS_Updater for FreeNAS is exactly what you need!
PMS_Updated allows you to update the FreeNAS Plex install from CLI with out waiting for the plugin updates from the devs, the updater will connect to your specified jail, download the most recent version of Plex and run the update if needed.
To do so, first we need to either access our FreeNAS console, or login via SSH. (for Windows users, check out Putty) Once logged into your FreeNAS server, you want to determine what Jail number your Plex server is installed in, to do so execute the following
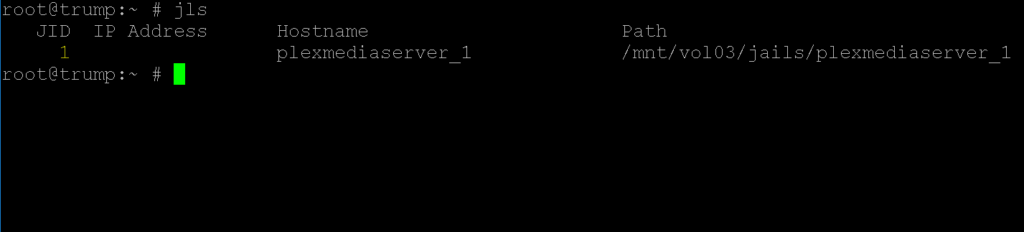
jls
You will get an output of Jails installed, choose your Plex Server. In this example mine is 1. Our next line with log into that Jail to update Plex, so be sure to use the number from the jls command above.
jexec 1 csh
The first time you run this, you may need to install the following.
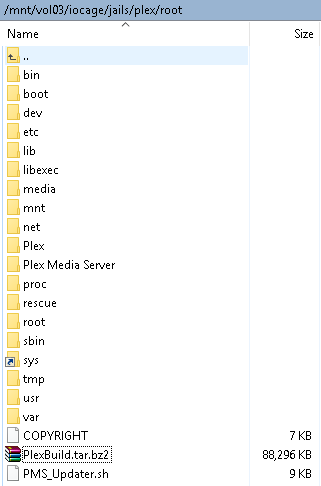
After the appropriate updater is downloaded, make sure to modify the permissions for the file to execute correctly.
chmod 755 PMS_Updater.sh
And then execute the script.
./PMS_Updater.sh -vv -a
You should now be on the latest version of Plex, you may need to start your Plex Server in the FreeNAS plugins page.
For a list of known issues and bugs, please check the Issues Page from the Author of this script. At the time of writing this article (3/23/19), there are 2 known bugs with the current release.
Forcing an update when all else fails
A few times the script above has failed me, to get around I still execute the jexec for the jail I wish to update.
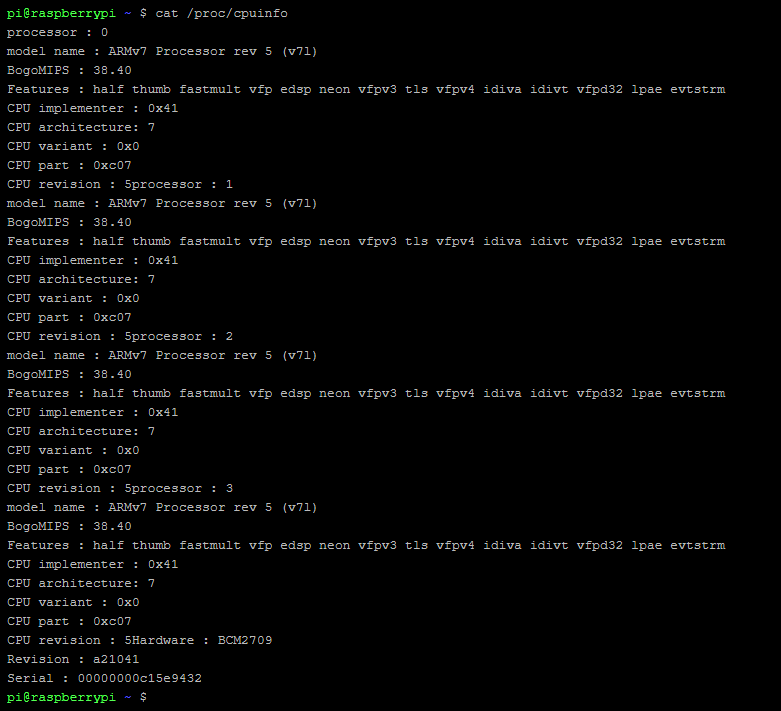
Do you have a Raspberry Pi, yet aren’t sure exactly what make/model or hardware you have? The following will show you exact details about your device. From a command line, or SSH session into your Raspberrry Pi, run the following command.
cat /proc/cpuinfo
And look for the line that states – Revision, this can then be cross checked with the list below.
Having worked somewhat more than a little bit with PinkyPi and PinkyPi Pro, I had to figure out how to get the buttons and joysticks to work with the display hat buttons. These were wired to GPIO pins on the Raspberry Pi.
This is where mk_arcade_joystick_rpi comes into play, designed to work with buttons and joysticks connected to the GPIO pins on the RaspberryPi. You can use this in items such as our PinkyPi project, DIY handhelds and Minicades as well as full upright Arcade cabinets!
(Taken from the git page) It is written for 4 directions joysticks and 8 buttons per player. Using a MCP23017 extends input numbers to 16 : 4 directions and 12 buttons. It can read one joystick + buttons wired on RPi GPIOs (two on RPi B+ revision) and up to 5 other joysticks + buttons from MCP23017 chips. One MCP23017 is required for each joystick.
But for 1 player and in 2 player need situations, the setup is fairly simpleI
Installation
Download the installation script :
mkdir mkjoystick
cd mkjoystick
wget https://github.com/recalbox/mk_arcade_joystick_rpi/releases/download/v0.1.4/install.sh
and add this line at the bottom to load the driver :
mk_arcade_joystick_rpi
Then create the following file /etc/modprobe.d/mk_arcade_joystick.conf :
sudo nano /etc/modprobe.d/mk_arcade_joystick.conf
and add the following line with your mapping configuration :
options mk_arcade_joystick_rpi map=1
Testing and troubleshooting
Before we start into RetroPie, you can do a test and verify the output and functionality of each button.
To test player 1 or a single player setup, use;
jstest /dev/input/js0
To test player 2 on a 2 or more player setup, use;
jstest /dev/input/js1
The same if you have more players, just increase the “js#” value at the end.
You can then see an output of all your buttons and their status, off is default and when the button is active they goto on.
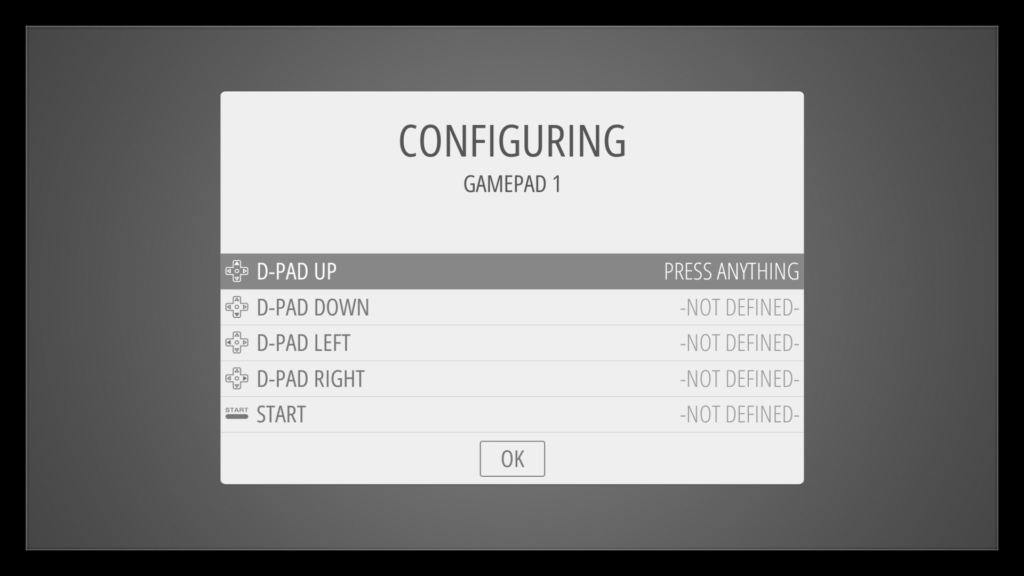
Once everything checks out, load up RetroPi and run through the controller configuration. You may need to reset your configuration if you have already had an existing controller setup.
Did you download an image or .img file for your Raspberry Pi and you are not sure how to get it running, are you creating a RetroPie game console for Raspberry Pi and you are looking to flash RetroPie to an SD card?
First things first, download balena Etcher and run through its install. Once installed we can continue to flash our image.
And then launch balena Etcher and insert your SD card into your computer. Once Etcher loads, click “Select Image” and browse to the .img file you have and wish to flash to your SD card, in our example I used OctroPi.
Next you can choose your SD card drive, it does attempt to auto detect any SD cards inserted into your PC, so if you have more than one you must specify what device to write to.
Last, click Flash, and it will start writing data to the SD card, depending on the size of the image and speed of your SD card this can take several minutes.
If you wish to do the reverse, and make an image or .img from an existing Raspberry Pi install on an SD card, check out our tutorial on using Win32DiskImager for just that task.