In this episode of DIY or Buy we will be having a closer look at a commercial tachometer (RPM Meter) and test it in order to find out that it is pretty much unusable. Afterwards I will show you how a 3€ IR distance sensor works and how we can use it to build a proper DIY tachometer that functions properly. Let’s get started!
 CrackedConsole
Shooting Bullet Time Sequences with Raspberry Pi
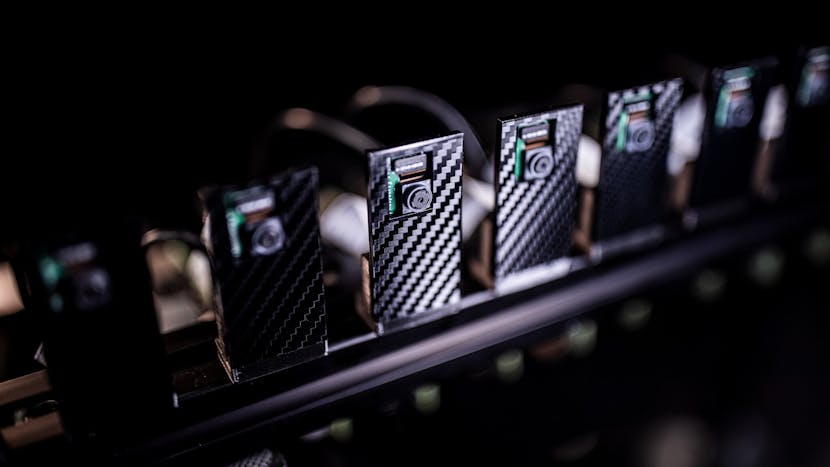
Eric Paré is experimenting with Matrix-eseque effects using 15 Raspberry Pi Cameras and Xangle Camera Server software.
Bullet time photography allows a single instant in time to be captured by multiple cameras, enabling one to “spin” around the subject virtually after the fact. It’s perhaps most recognizable from The Matrix film, and more recently Eric Paré has been experimenting with the technique using an array of 15 Raspberry Pi Camera v2 modules and the Xangle Camera Server software package.
As seen in the video below, Paré is by no means a stranger to bullet time, having created some stunning effects with more expensive and physically larger digital cameras. The Pi Camera’s tiny size, however, allows 15 of them to be stuffed very closely together, for what is his best density ever on a multi-camera rig.
Monitor CPU Usage with 12,288 Individually Addressable LEDs
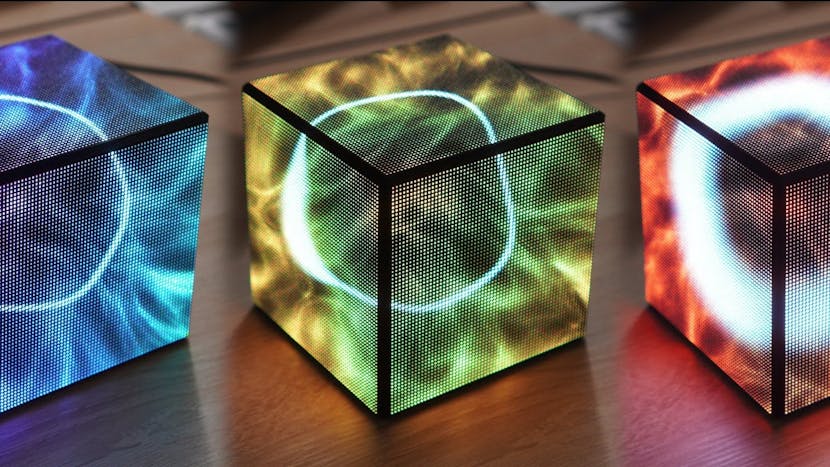
Keeping track of how hot your CPU is running can be quite boring, as staring at a list of changing numbers gets old, quickly. That’s why Sebastian from the website There Ought to Be has created a cube with three faces that display CPU usage and temperature statistics. He was inspired to design this when he attended the 36th Chaos Communication Congress and saw the smaller cubes that people were building and using to show particles reacting to changes in the cube’s position. Rather than also making his cube battery powered, Sebastian wanted a stationary device that can plug into the wall, which allows for far more LEDs to be used.
A 3D-Printed SCARA Robot Arm That Won’t Break the Bank
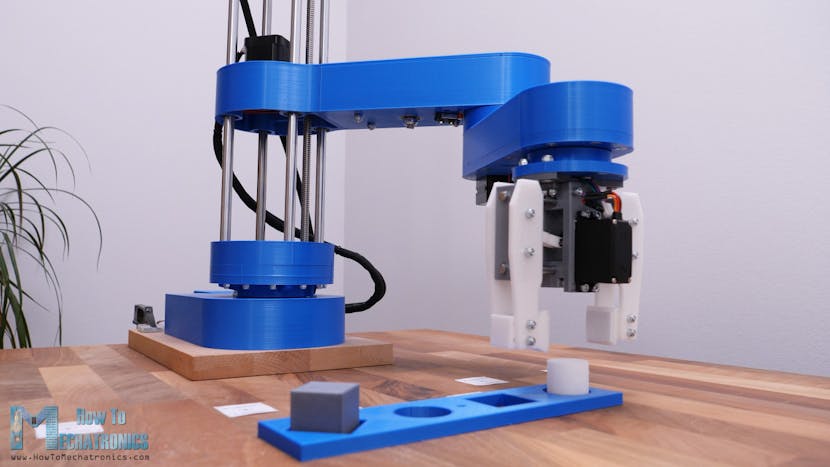
In the world of industrial robots, six-axis models are perhaps what comes to mind. However, SCARA – Selective Compliance Assembly/Articulated Robot Arms – are also quite common, for applications where complicated 3D orientation isn’t needed. While these machines can cost many thousands of dollars, and are normally refined over years of work, YouTuber How To Mechatronics created a version of his own using four NEMA 17 motors and an array of 3D-printed components.
As seen in the video below, the device employs timing belts and pulleys inside the segments for power transmission and gear reduction in the horizontal direction. The Z-axis is driven by another stepper, along with a lead screw, held in place with a series of four rods and linear ball bearings. For the “hand” portion, a servo motor controls an end effector, enabling it to pick and place objects as necessary.
Gas Leak Detector Sensor | Fart Detector | Using Arduino Uno and MQ-2 Sensor | Methane Detector
Hello Guys I have Prepare a Tutorial Video on How You Can make a LPG gas Leak Detector Device using MQ-2 sensor and display the data on LCD In this Video I have Used MQ-2 Sensor with Arduino to Receive the Data from the sensor . MQ Sensor senses the air and send and sends it to the Arduino and the data is printed to the LCD Display .Then when the gas level crosses its threshold the light and buzzer are turned on and Alert is Displayed
How To Make an Air Quality Monitor Logger
A complete tutorial to make an Air Quality Monitor with logger on SD CARD with an ESP32. The system monitors CO2, Ozone, Formaldehyde, PM2.5, Temperature and Humidity. A Graphical User Interface made with Raspberry and Qt shows realtime data connecting to ESP32 on Bluetooth.
Source code on https://github.com/vigasan/AirQuality…
Ender 3 Bed Level with Dial Indicator
I attempt to explain how to level the bed of an Ender 3 using a dial indicator from Harbor Freight.
Indicator: https://www.harborfreight.com/1-In-Tr…
Indicator Mount: https://www.thingiverse.com/thing:325…
I used a 5 thou feeler gauge. The exact feeler gauge thickness doesn’t really matter because it needs to be appropriate for your printer. You might need more or less to get good adhesion. I’ve since switched back to the regular paper method.
I used this feeler gauge: https://www.mcmaster.com/2334A8
Use SEFR (ML) on Arduino Nano for Color Recognition
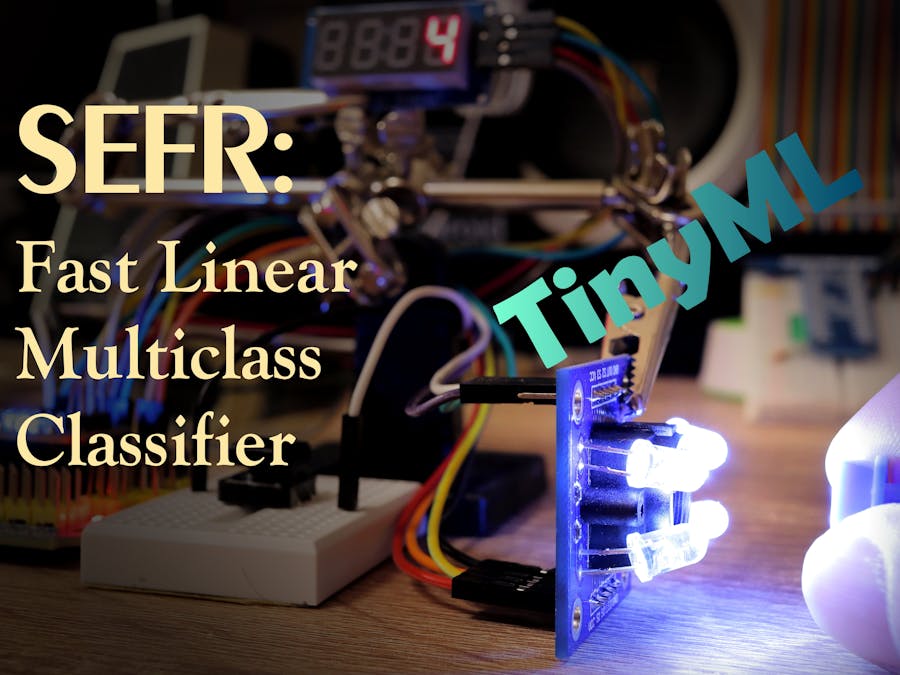
A few months ago, some researchers published a paper called SEFR: A Fast Linear-Time Classifier for Ultra-Low Power Devices. It’s possible to run it on a regular Arduino Uno – more ever, to train the machine learning model on the device itself. Simply put, SEFR (which got its name from a related algorithm called semi-supervised ensemble learning guided feature ranking method) calculates a hyperplane between different classes of data with their average values.
Needless to say, as one who sucks at math, I have became very, very interested in this algorithm.
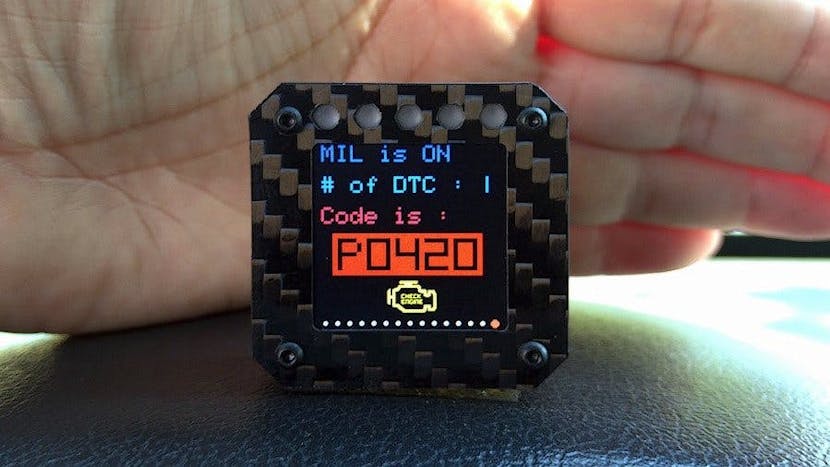
Phoenix CNC’s H.E.D.S. CAN Gauge Packs Plenty of Features in a Compact Self-Contained Gadget
Phoenix CNC’s Hayri Uygur has launched a CAN bus add-on with built-in 1.3″ full-color IPS display panel, designed to offer at-a-glance monitoring of various vehicle functions and wireless connectivity to a phone or tablet.
“This is the newer version of my initial CAN Gauge Micro,” Uygur explains, “[with] more features than before: Dual info screen with speed and RPM; Speed screen with speed warning; RPM screen with shift light; Coolant temperature; Engine oil temperature; Intake air temperature; Ambient air temperature; Throttle position; Voltmeter; Fuel economy; Vacuum, boost/turbo; Air-fuel ratio; O2 sensor voltage, bitmap edited according to your cylinder number; Gear indicator.”
NanoPi M4B Single Board Computer – 6 Core CPU Android 10
In this video, we take a look at the Neo Pi M4 single board computer from friendly Arm/ Friendly Elec. Powered by a 6 Core CPU and backed by a 4 core Mali GPU can this compete with the Raspberry Pi 4?
In this video we test out Android 10 running on this board and test out Video playback from YouTube and PLEX then we move over to some Native android games like Minecraft and Asphalt 9 and finally wrap it up with some PSP, Dreamcast emulation, and Cloud gaming using Project Cloud/Xbox game streaming.
