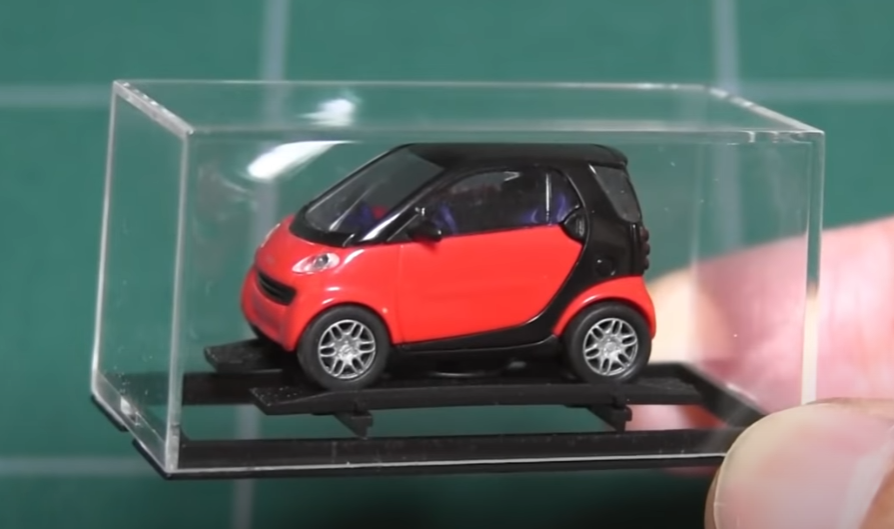
I have converted the 1/87 scale BUSCH Smart Fortwo into the radio controlled model. The steering is operated by 3.9mm diameter stepper motor and the drive by 4.1mm diameter DC motor. Wireless communication is performed by two Bluetooth modules(RN4871U). The RN4871U must be configured for communication before assembly. The transmitter is built on the breadboard. The microcontroller used is ATtiny3217 on the transmitter and ATtiny1616 on the receiver(the car side).
Sometimes advances happen when someone realizes that a common sense approach isn’t the optimal one. Take radio. Success in radio requires bigger antennas and more power, right? But cell phones exist because someone realized you could cram more people on a frequency if you use less power and smaller antennas to limit the range of each base station. With FDM 3D printing, smaller nozzles were all the rage for a while because they offer the possibility of finer detail. However, these days if you want fine detail you should be using resin-based printers and larger nozzles offer faster print times and stronger parts. The Volcano hotend started this trend but there are other options now. [Stefan] over at CNC Kitchen decided to make his own high flow nozzle and he claims it is better than other options.
Don’t get too carried away with the DIY part. As you can see in the video below, he starts with a standard nozzle, so it is really a nozzle conversion or hack. The problem with high flow isn’t the hole in the nozzle. It is melting the plastic fast enough. The faster the plastic moves through the nozzle, the less time there is for it to melt.
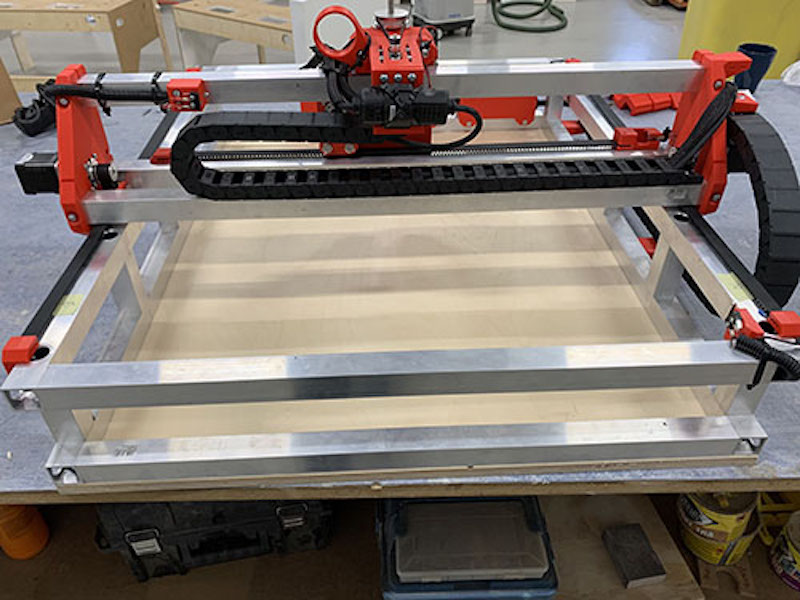
3D printers are very popular in the maker community and CNC machines complement them well. While 3D printers fabricate parts by adding material over time, CNC mills and routers fabricate parts by subtracting material. That is preferable when working with large parts or when you require a lot of precision. If you want an affordable option, this guide will show how to build Ivan Miranda’s 3D-printed CNC machine design.
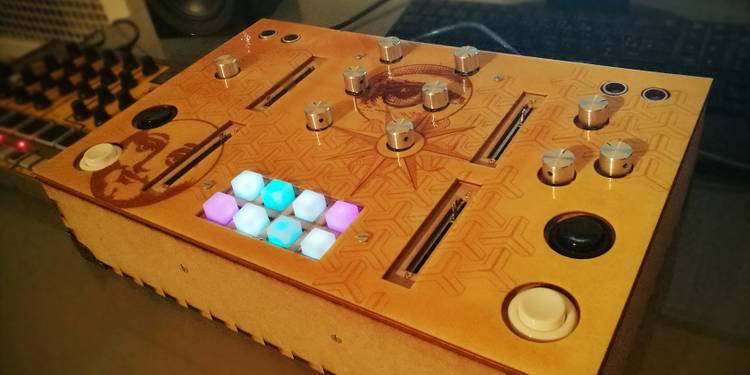
MIDI is an abbreviation for Musical Instrument Digital Interface. It is a communication protocol that enables computers and other MIDI compatible devices to communicate. With its built-in serial ports, the Arduino is ideal for DIY MIDI projects. Let’s take a closer look at 10 of the best Arduino MIDI projects for beginners!
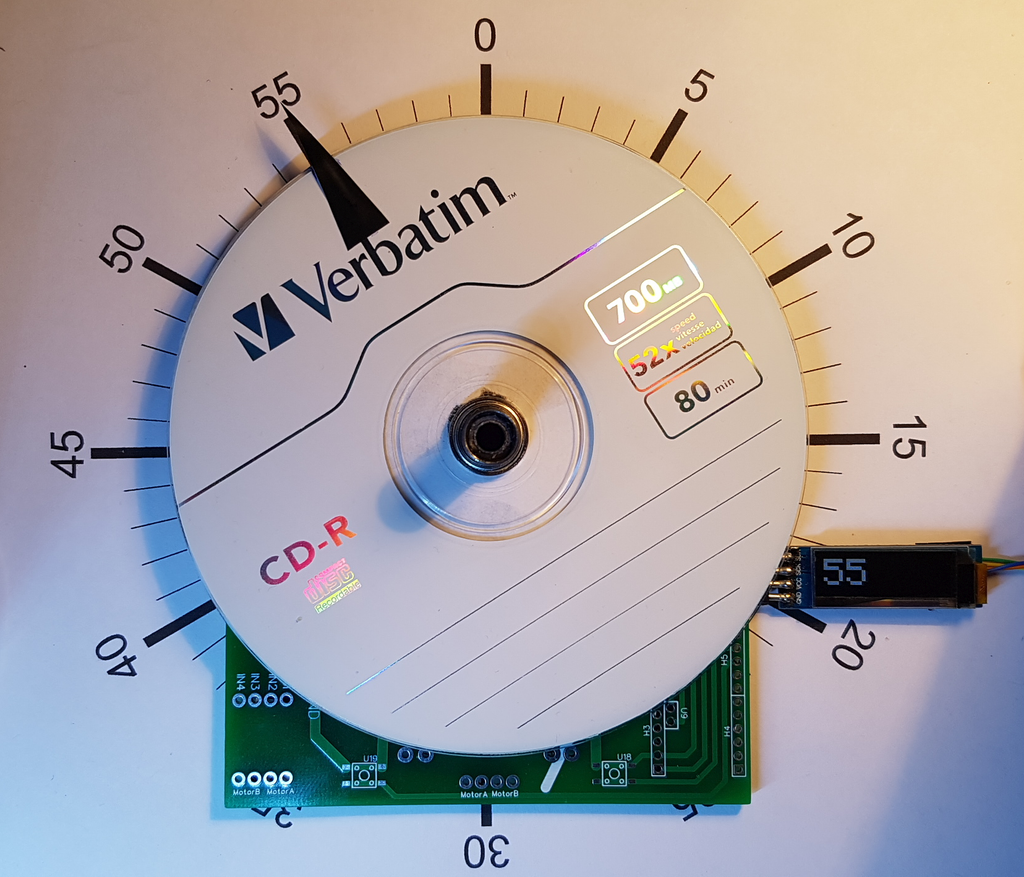
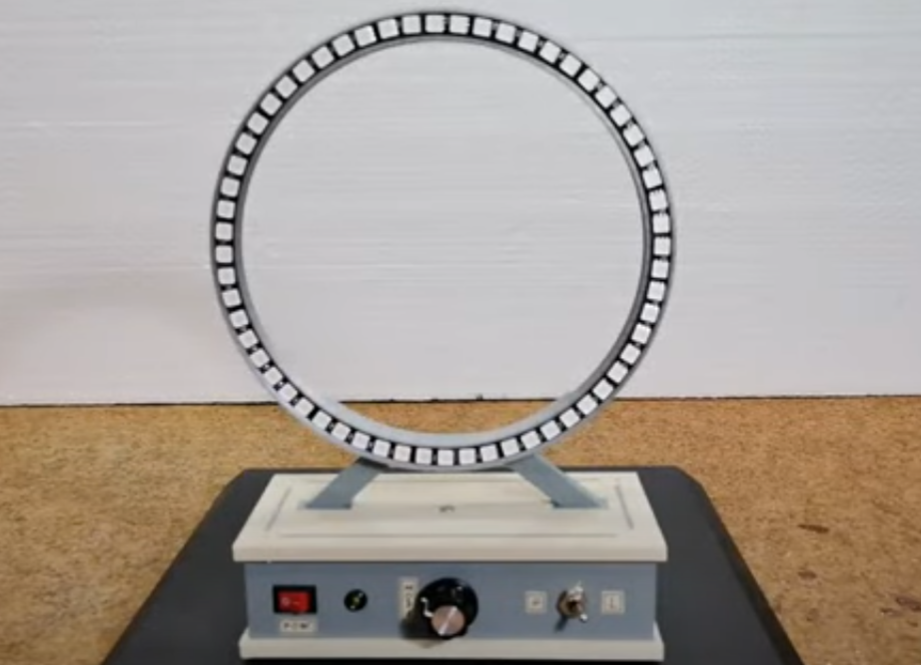
This time I will show you how to build a nice-looking ring clock. The clock uses a WS2812 ring containing 60 Leds,(4 Quarter circle neopixels x 15 Leds) and it is ideal for this purpose. This is a analog style digital clock with multiple display states, a 24-hour alarm, a count down alarm, multiple alarm display states and a demo mode. Hours, minutes and seconds are represented by a different color of the corresponding LED.
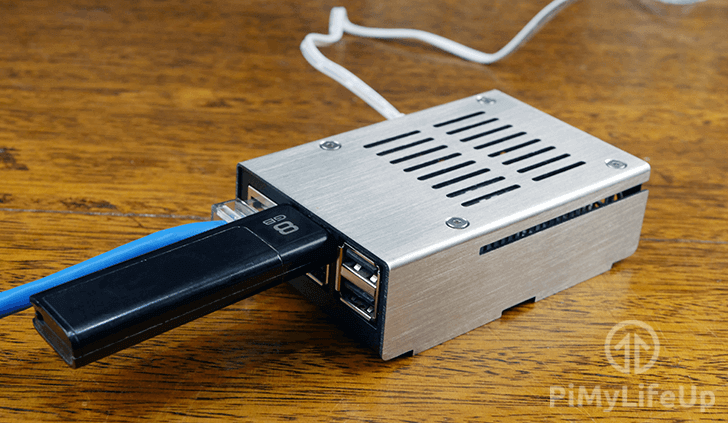
In this Raspberry Pi boot from USB guide, we will be showing you how it is possible to boot your chosen operating system from a USB storage device instead of the standard SD card.
We will walk you through the steps required to activate the USB boot mode in the one-time programmable (OTP) memory. You will need a newer Raspberry Pi to complete this tutorial correctly (see below).
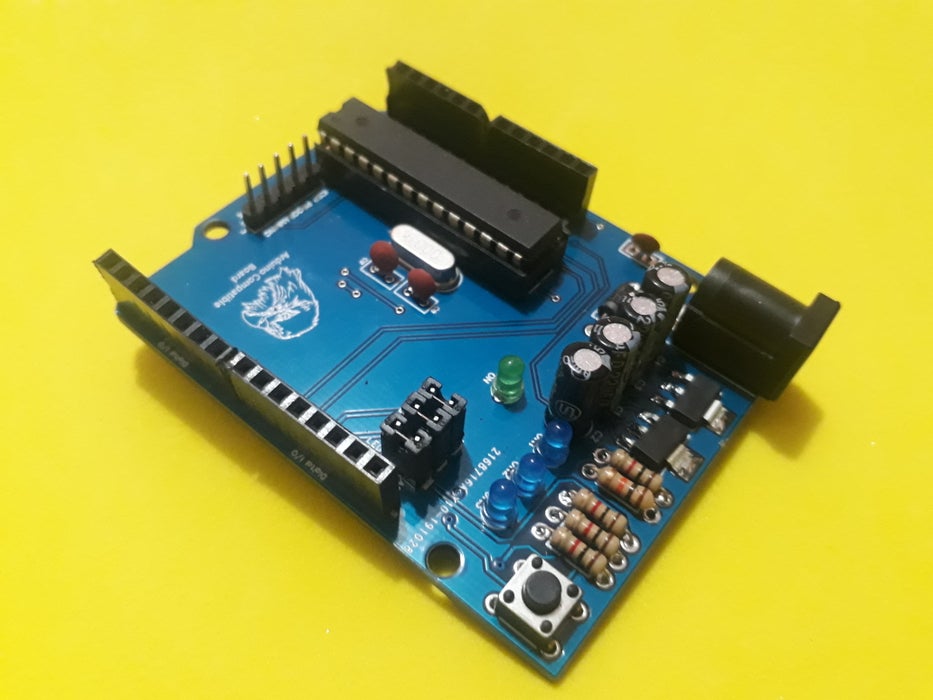
Do you dominate the Arduino technology? If you do not dominate it is probably because it is dominating you.
Knowing Arduino is the first step for you to create various types of technologies, so the first step is for you to master the full operation of an Arduino board.
In this Instructables you will learn step by step to master the complete circuitry of an Arduino compatible board.
PicoLight is a minimalist adjustable light for low-light photography, based on the Raspberry Pi Pico.
One of the activities I really enjoy while working on a new project is documenting it. I love getting creative while taking pictures of the process and of the final products. A thing that has been really handy in this process is an adjustable studio light, which I use to add a bit of colour to the background (that’s why most of the pictures in these tutorials are purple hehe).
PicoLight is a smaller version of a classic studio light that is useful for playing with colours in low-light shots or for coloured shadows photography.