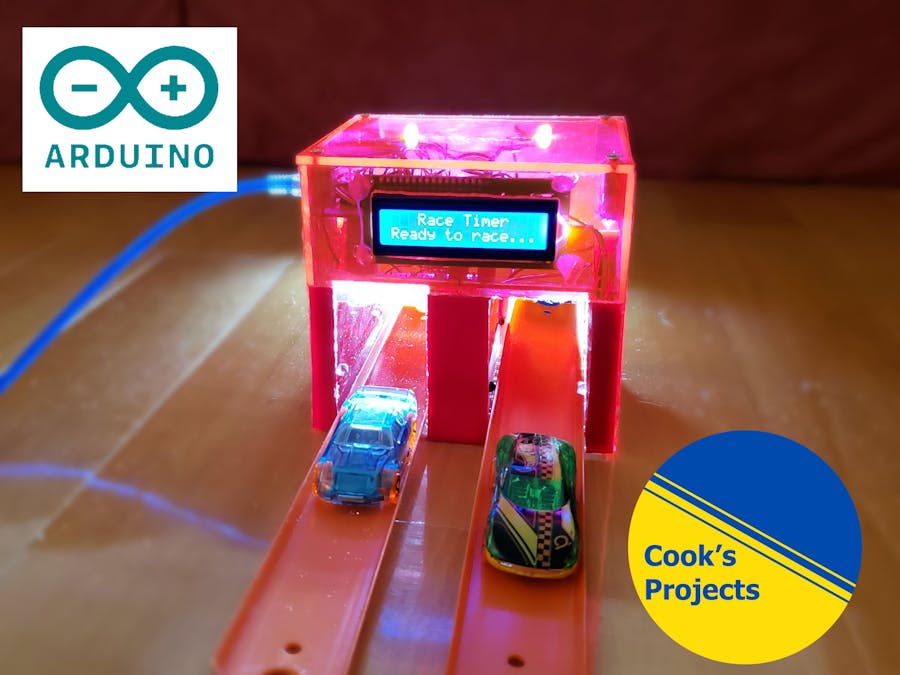
Ping Pong Scoreboard with animation and sound

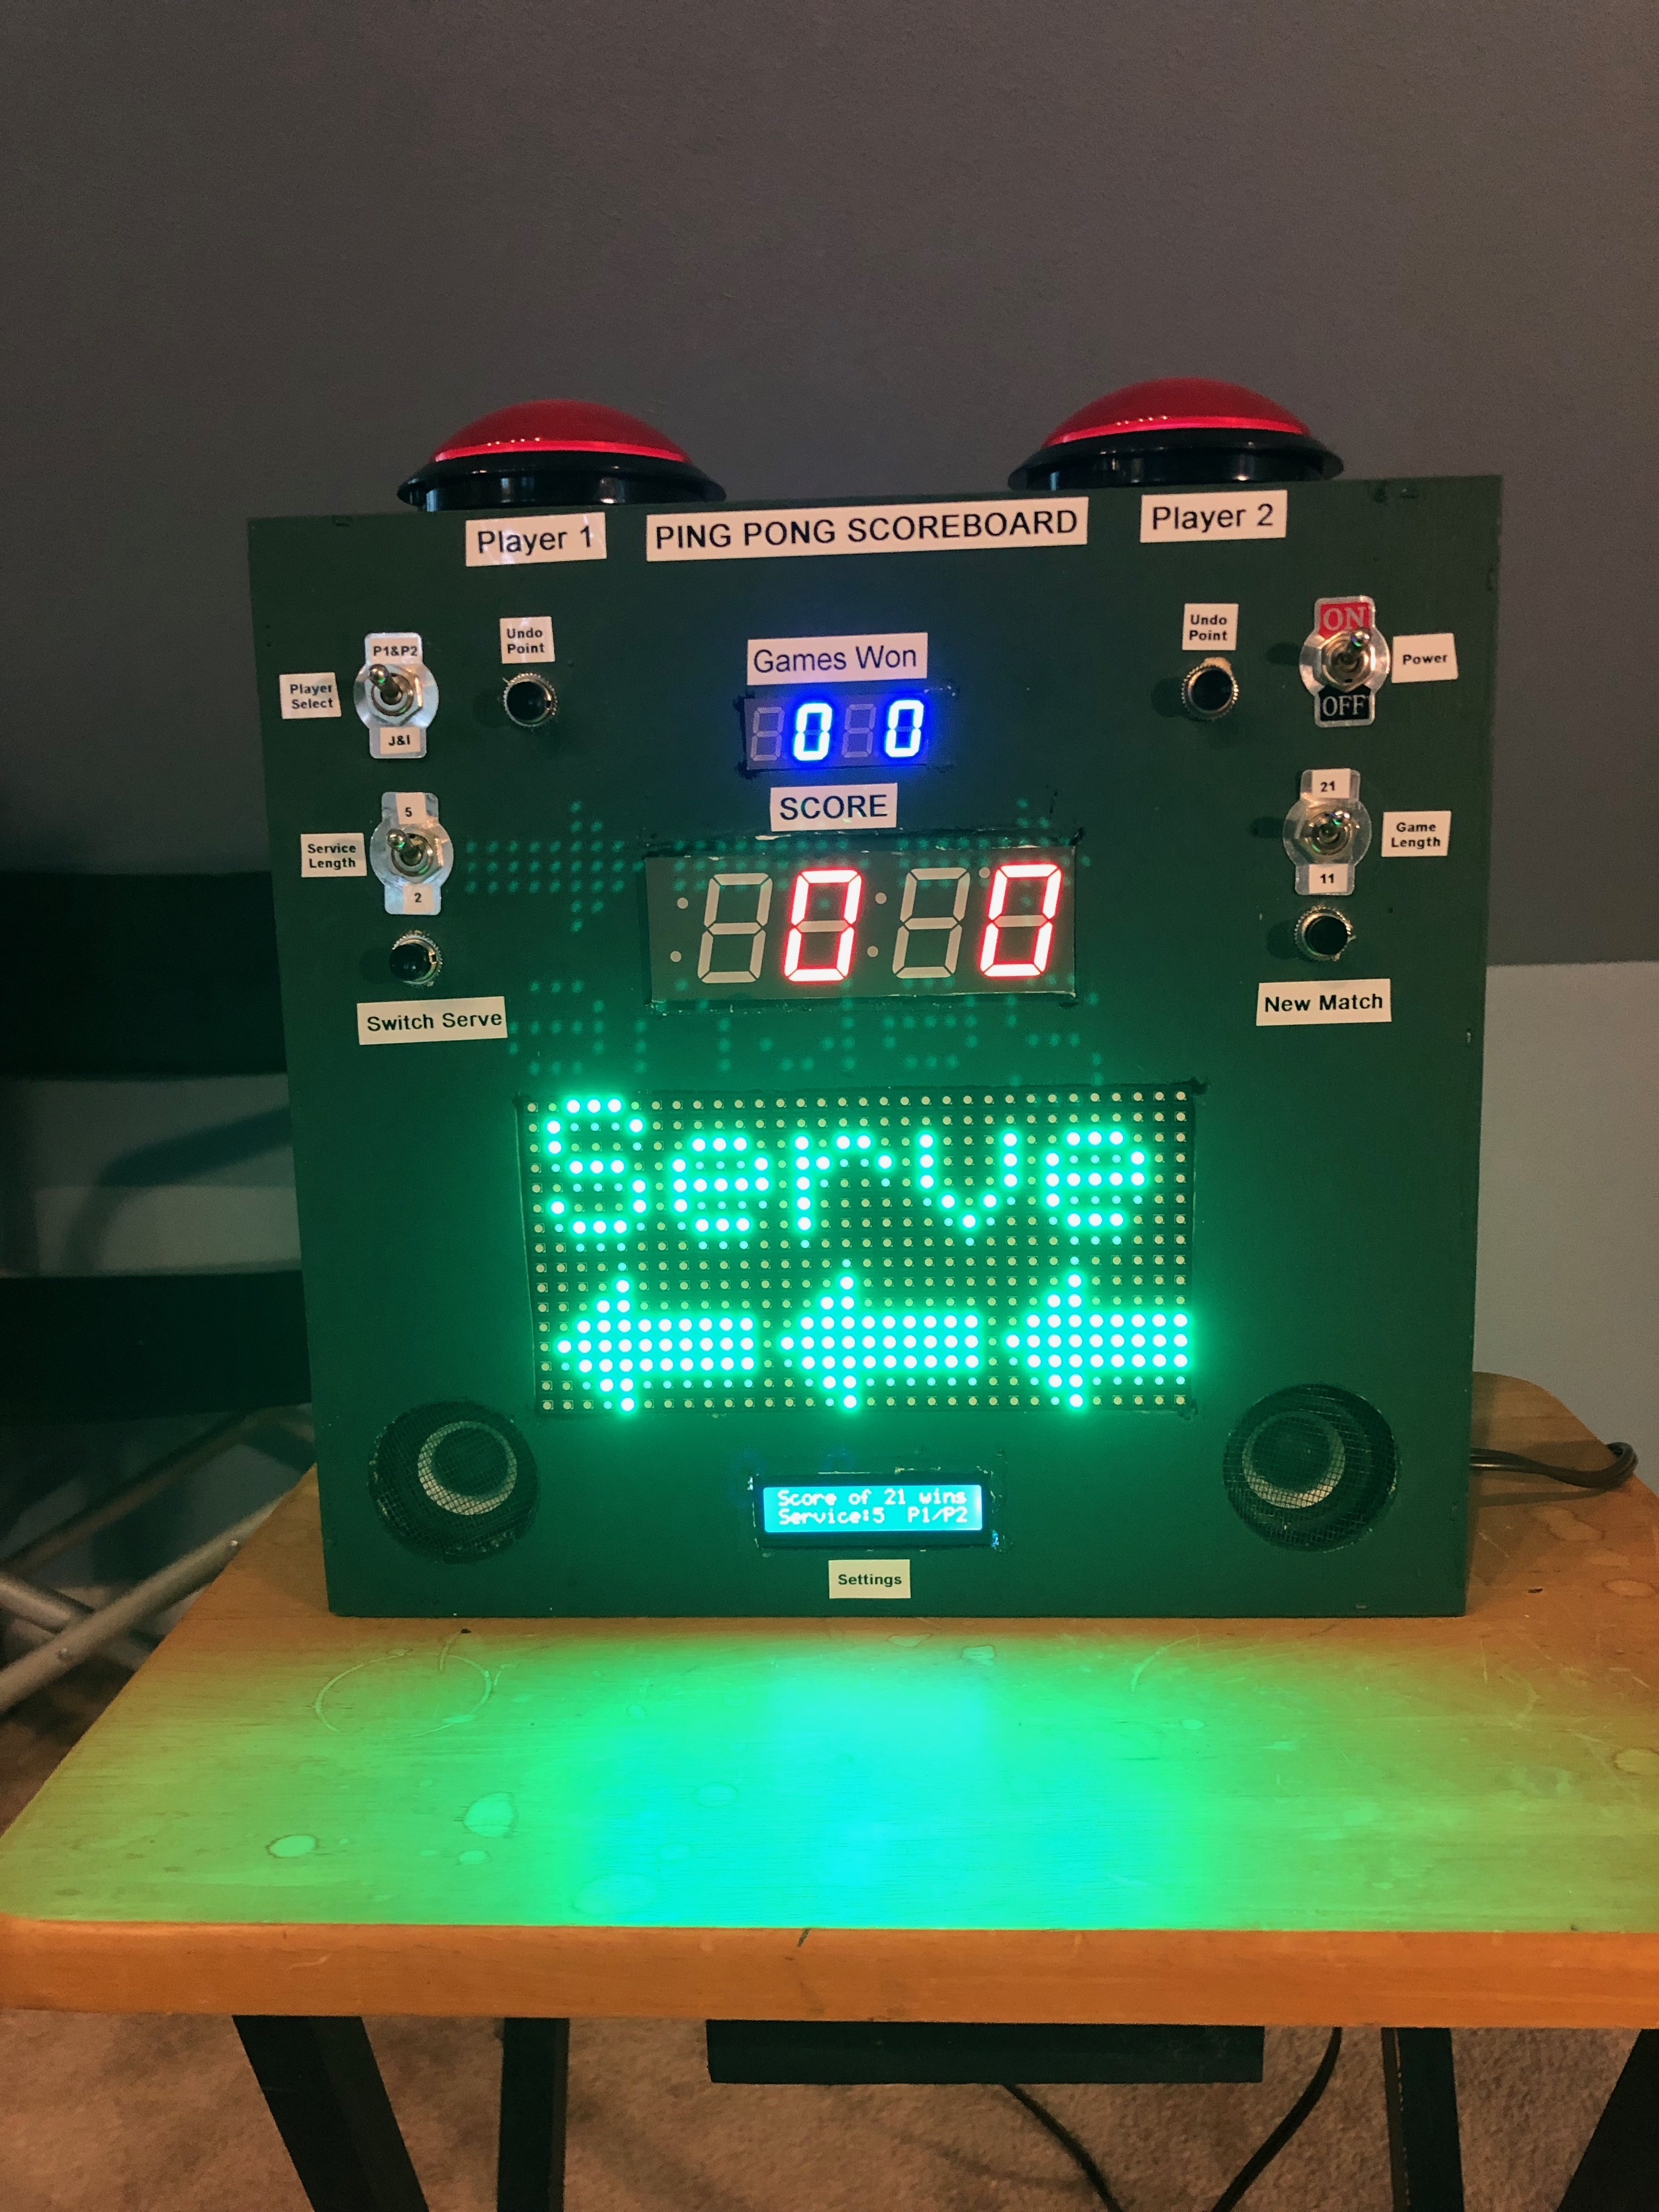
We play a lot of ping pong, but lose track of the score and who is supposed to serve. This scoreboard introduces the game, keeps track of whose serve it is, keeps score and congratulates the winner at the end. Uses an rgb matrix and a soundboard.

The scoreboard uses an Arduino Mega (for the RGB matrix and soundboard pins, mostly) and several LED and LCD panels.   The games are configurable to be either 11 points or 21 and the service can be switched at either 2 points or 5 points.  The warmup begins with a virtual ping pong match on the matrix and then several vocal announcements including “Lets Play Ping Pong” and “Shall We Play a Game”.  Each point is entered using a big lighted button on the top (one for each player).   Service is announced with “Switch Serve” and the arrows pointing towards player 1 or  2.   The announcement of player can be switched from two specific people by name or generic “Player 1” and “Player 2”.   At the end of a game, the winner is announced and there’s applause, etc.  The soundboard is loaded with all these sounds, etc.
Read more…

MicroNova’s AmpliPi Is a RaspberryPi Powered Open Source Audio System for Your Entire Home

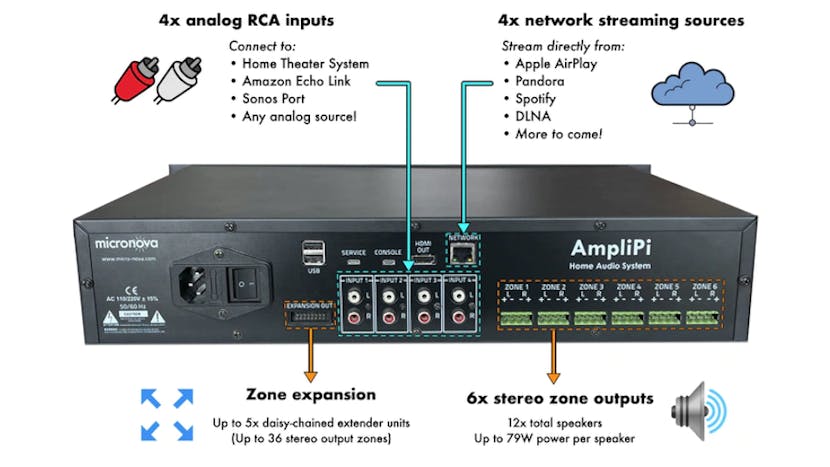
Driven by a Raspberry Pi Compute Module 3+, this Python-powered audio system supports up to six stereos zones — expandable to 36.

MicroNova has launched a crowdfunding campaign for AmpliPi — an open source, whole-home audio system powered by a Raspberry Pi Compute Module 3+ and running a Python REST API and mobile-first web application.

“AmpliPi is a multi room/zone home audio controller and amplifier made for whole house audio systems with many zones,” explains MicroNova co-founder Jason Gorski of the device. “It can play up to 4 simultaneous audio streams (Pandora, Spotify, AirPlay, etc) or sources (RCA inputs), each routed to one or many zones, all of which are configurable in real-time using the self-hosted AmpliPi Web App or its underlying REST API.”

Read more…

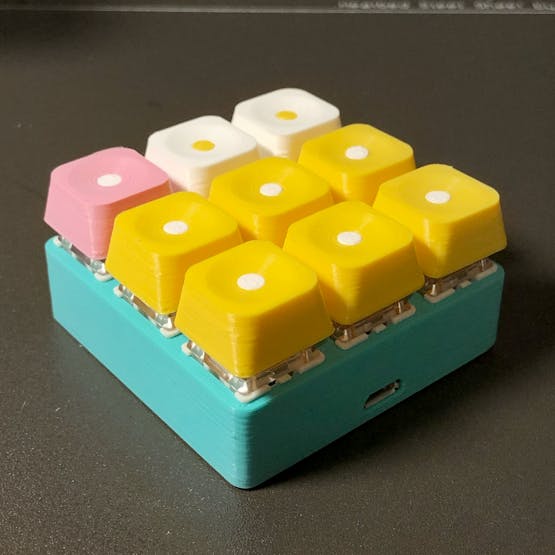
This RaspberryPi Pico-Based Macro Keyboard Features a 3D-Printed Circuit Board

As makers, we are extremely lucky that today we can have affordable, professional-level PCBs fabricated on demand in small quantities and shipped to our doorsteps in just a week or two. Those are absolutely your best option if you’re working on projects that require custom boards and you want them to come as close as possible to consumer devices. But the week or two it takes to get PCBs fabricated and shipped can be too long for quick projects and you may not want to spend the money anyway. That’s why Redditor Duzitbetter came up with a really clever way to 3D print the circuit board for this Raspberry Pi Pico-based macro keyboard.

Read more…

3D Printing : (the famous) Ikea Lack enclosure for Ender 3 Pro

Background
There are a lot of article on the Internet about this topic. How to “turn Ikea Lack tables to 3D printing enclosure?” This is a trending topic. But to be honest, I never find the one that takes your by hand from start to beginning. This is the challenge of this post and I really hope you will like it !

Let’s go !

First, you need a minimum of two Lack tables from your local Ikea store. It works perfectly with three if you want a higher construction. For me two pieces are the ideal size since it will be on my desk. But if you want to have the furniture laying on the ground, three is indeed a better choice.

Read more…

The Troubled Origins of .ZIP | Nostalgia Nerd

PKWare, PKZIP, PKUNZIP, these are all names which mean something significant to me. For most of the 90s, the PK tools were probably the most frequently used in my toolbox. Compressing Doom from my mate’s PC across several floppy disks, creating my own VB installers, downloading data from bulletin boards or the early internet. It was an essential compression/decompression tool. But, the story of its origins is a little more tarnished than perhaps you would expect. If you’ve hard of SEA and their ARC file format, you might already know. Let’s dive in.

How to Make a Tic Tac Toe Using a TFT Touchscreen

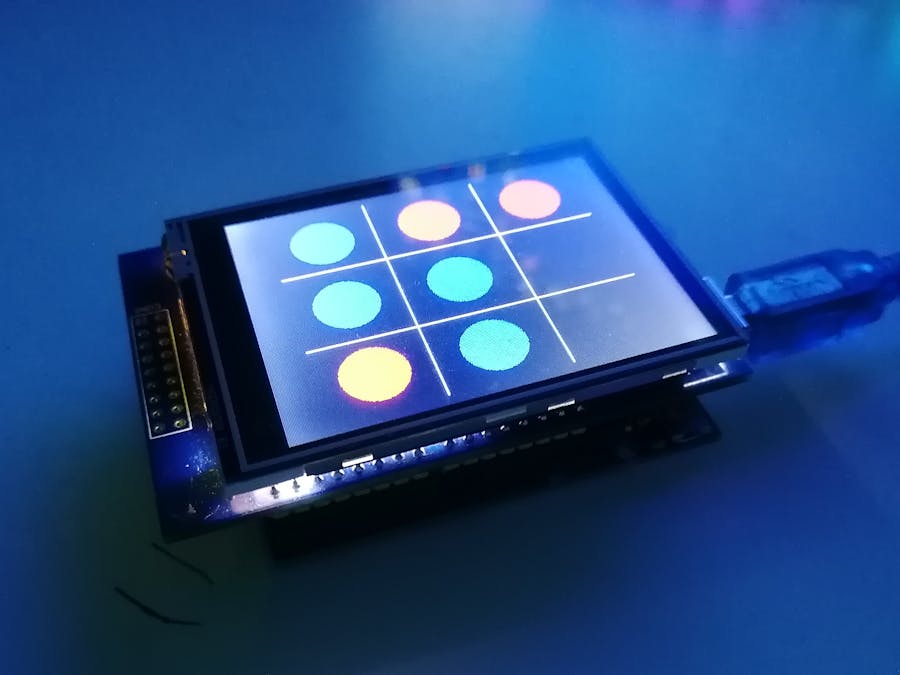
In this project, I will show you how to make a Tic Tac Toe with a TFT Touchscreen.

This code displays a Tic Tac Toe on your TFT screen. This game can be played using the tactility of your screen.

The first screen displays the title and some explanations about the game. The second screen is the “playing board” : it’s here that you can place your pads.

There are two type of pads : red and blue pads (because this game can be played only with two people). If someone win, a message will be display (“Victory, Player 1/2 win !”) and the game starts again. If nobody win, another message will be displayed, saying : “No winner.”.

Read more…