PicoLight – Minimalist Light for Product Shots

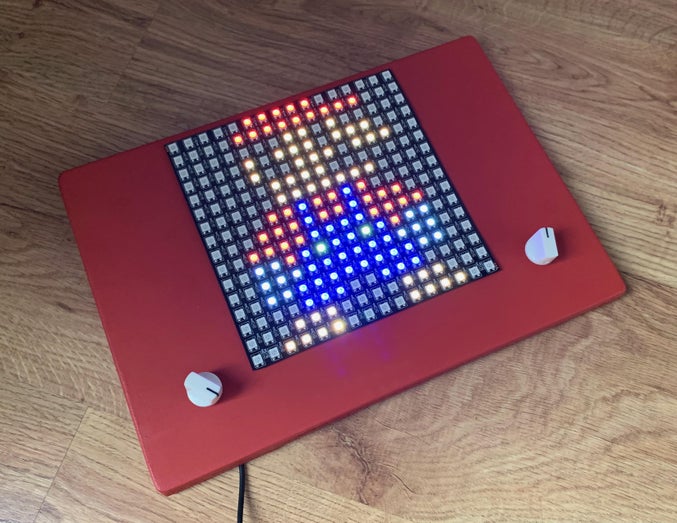
PicoLight is a minimalist adjustable light for low-light photography, based on the Raspberry Pi Pico.

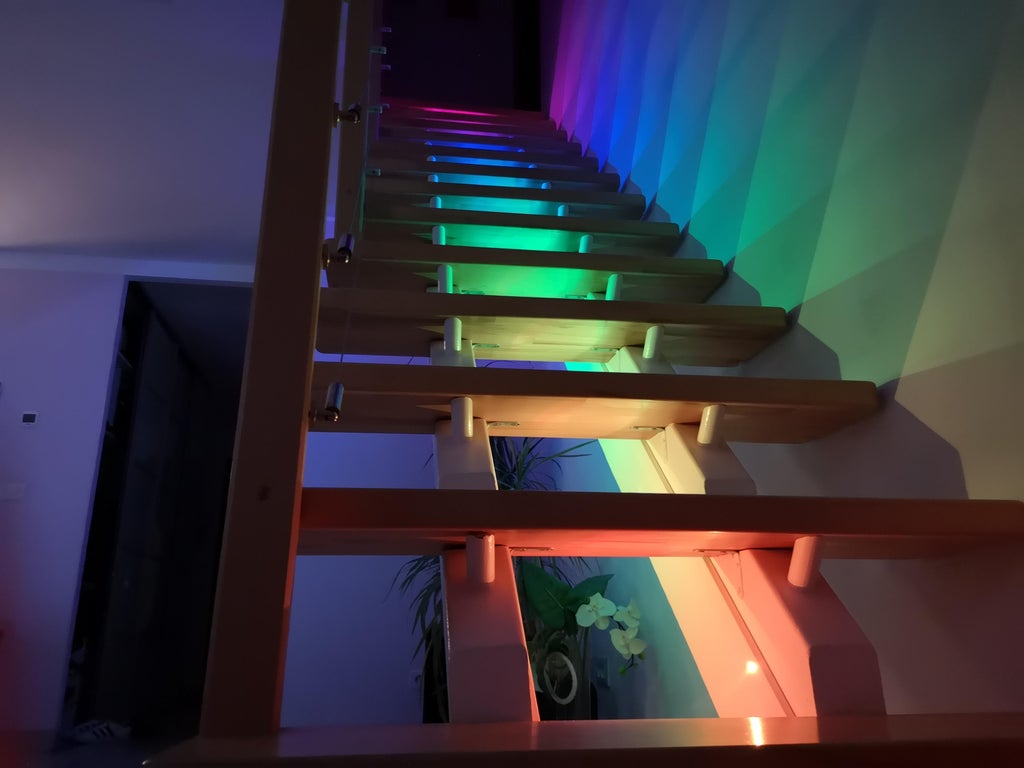
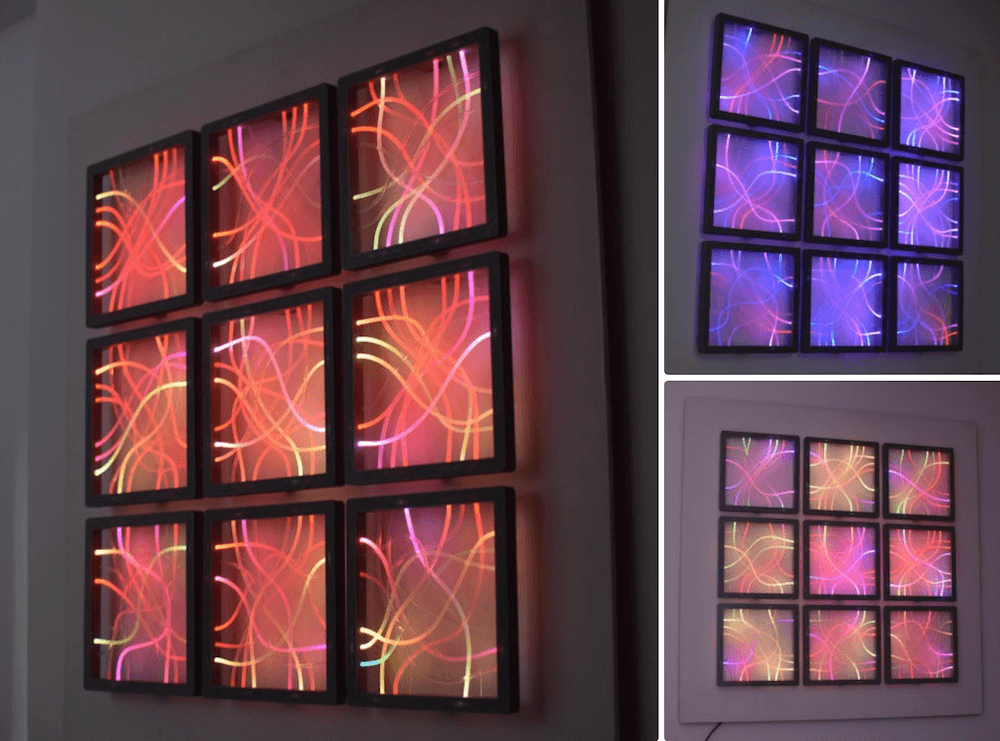
One of the activities I really enjoy while working on a new project is documenting it. I love getting creative while taking pictures of the process and of the final products. A thing that has been really handy in this process is an adjustable studio light, which I use to add a bit of colour to the background (that’s why most of the pictures in these tutorials are purple hehe).

PicoLight is a smaller version of a classic studio light that is useful for playing with colours in low-light shots or for coloured shadows photography.

Read more…

3D Printed Custom Name Lights

Custom Name Lights, we have seen them around, and they make great gifts! They are surprisingly simple to make with a 3D Printer. There are several great videos on how to create them and for this tutorial, I am referencing Les impressions d’Ega‘s instructions. The link to the video is at the end of the article. This process will use the LuBan Box Function and as a bonus, we’ll show you how to incorporate a Lithophane into this as well.

Read more…

RGB LED Etch-A-Sketch

A modern take on an old classic — create colour pixel art by turning two rotary encoders to control the horizontal and vertical position of the cursor, click to change colour. All controlled by an Arduino Nano.

How it works

  • Turning the left encoder moves the cursor left and right. Pressing it cycles forward through an array of eight colours
  • Turning the right encoder moves the cursor up and down. Pressing it cycles backwards through the array of colours
  • When you move the cursor, the selected colour remains in the previous ‘pixel’
  • The cursor is shown brighter than the other pixels so users can see where it is.

Read more…

Gorgeous Specimen is the Final Word in Clocks

At this point, it’s safe to say that word clocks aren’t quite as exciting as they once were. We’ve seen versions that boil the concept down to what amounts to a parts bin build, which for better or for worse, takes a lot of the magic out of it. You just get an array of LEDs, put some letters in front of it, write some code, and you’re done.

But then [Mark Sidell] sent in his build, and we remembered why we collectively fell in love with these clocks in the first place. It wasn’t the end result that captivated us, although the final clock is indeed gorgeous, but the story of its painstaking design and construction. The documentation created for this project is unquestionably some of the best we’ve seen in a very long time, and whether or not you have any desire to build a word clock of your own, you won’t regret sitting down and reading through it.

Read more…

NeoPill is the NeoPixel Emulator You’ve Always Wanted.

NeoPixels and other addressable LED strings are a technology that have made vibrant, glowing LED projects accessible to all. Of course, it’s nice to be able to simulate your new glowy project in software before you actually set up your LED strings in practice. [Randy Elwin]’s NeoPill simulator can help with that!

The NeoPill consists of an STM32F103 development board, into which one simply hooks up a NeoPixel data line. The microcontroller then decodes the data using a combination of its onboard timers and SPI hardware. This data is then passed to a PC over the onboard USB serial connection, where it’s decoded by a custom Python app. The app takes the data and displays the pixels on screen, so you can verify they operate as expected before you hook up a single real LED.

Read more…

Turn your staircase into a flaircase with this LED system

If you live in a house with stairs and have to traipse up and down at night, it’s best to have some sort of light that guides you. Although a cell phone can work just fine, or you could likely activate bright overhead lighting, creator MagicManu devised an automatic and progressive solution to illuminate his path instead.

MagicManu’s system knows when someone is there using PIR sensors arranged at both ends, and only activates if it’s dark enough thanks to a photoresistor. The entire setup is controlled by an Arduino Nano, while two potentiometers adjust light sensitivity and duration of ignition.

Read more…

These side glow fiber optic panels make beautiful wall décor

Side glow fiber optics – unlike their cousins that efficiently transmit light from one point to another – emit a glow along the length of each strand when light is applied. This creates a beautiful effect, which Andrei Erdei implemented nicely in his wall decoration project.

Erdei’s build consists of a series of nine square frames, inside of which 3mm fiber optic strands are connected, looping gracefully from one edge to another. Each strand is lit by an addressable WS2812B LED module, under the control of an Arduino Nano.

You can see this wall installation in action in the video below, and more info on how to build your own is available on the project write-up.

Read more…

DIY Color Changing Acrylic Nightlight using ATtiny85 Microcontroller and Arduino

In this video I create a color changing nightlight based on a famous symbol from one of my son’s favorite video games. Because space was tight, I decided to use an ATtiny microcontroller instead of an Arduino. These are very inexpensive and are a great way to shrinkify your Arduino projects. ATtiny come in multiple configurations (number of pins and amount of memory). One of the most popular is the ATtiny85 which only has 8 pins and is very small.