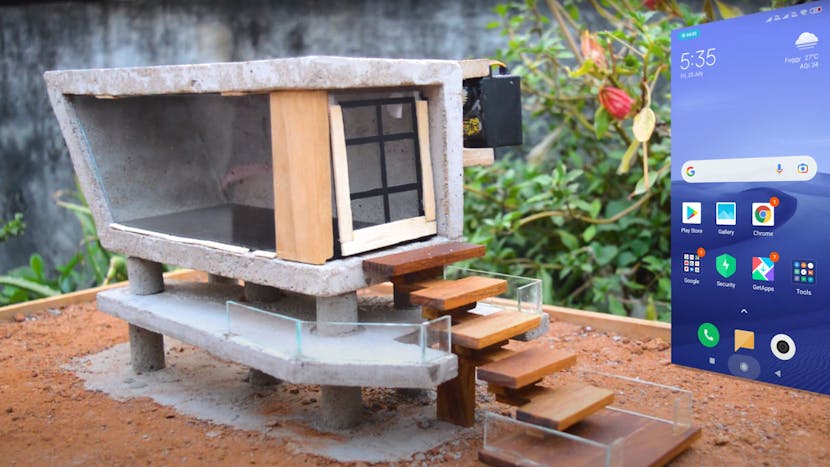
Automated Backyard Studio Model Driven by an ESP32

The architectural model was designed using steel-reinforced concrete, glass windows, wooden steps, and an ESP32 for automation.

Architectural models are designed to approximate life-sized buildings in nearly every way, which is done for several reasons, including visualizing how light illuminates spaces, analyzing the best forms, and the relationships between spaces and materials. The Best Ever Architect’s Tiny Backyard Studio is one of those models and provides an understanding of home automation systems. While it may look simplistic, the model was created almost the same as life-sized buildings, beginning with a solid steel-reinforced concrete foundation, complete with pillars.
Read more…

See Your Circuits in All Their Glory with This Glass-Based “PCB”

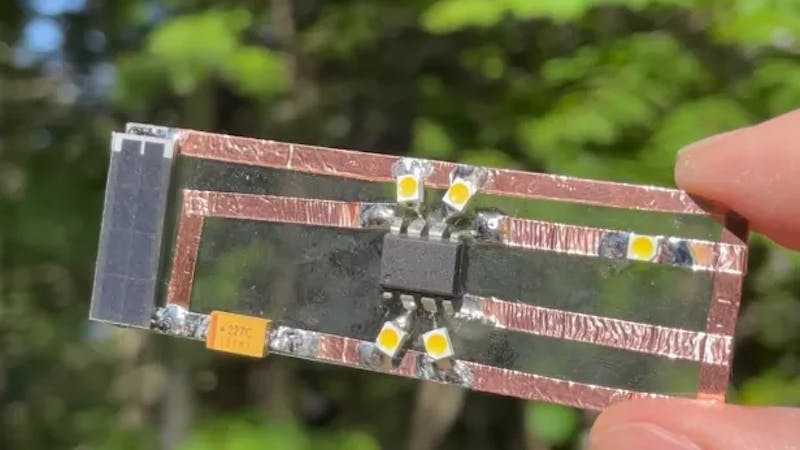
By using glass as the substrate instead of the typical FR4 material, circuits can be visible from all angles.

Printed circuit boards, or PCBs, are essentially circuits that have been etched onto a piece of substrate material in order to use less space than something using wires and plugs. Commercially, PCBs are opaque, which does not allow anyone to easily observe the traces unless they get extremely close. It was for this reason that Okubo Heavy Industries wanted to build his own transparent version for a better viewing experience.

Read more…

Speak4Me is an eye-to-speech module designed to assist those unable to communicate verbally

People who suffer from physical disabilities that leave them unable to speak or communicate effectively can end up frustrated or largely ignored. In response to this issue, Hackaday users MalteMarco, and Tim R wanted to create a small device that can turn small eye movements into simple commands and phrases for easier communication, which they call the “Speak4Me.”

At the most basic level, the Speak4Me consists of an Arduino Nano board that controls a set of four infrared sensors which are pointed at the user’s eye within a single glass lens. Then once every 100 milliseconds, a measurement is taken to determine the location of the pupil and thus the direction being focused on. The word or phrase is chosen by first selecting a profile containing four groups of four elements each, for a total of sixteen possible combinations per profile. As an example, the caretaker profile has elements such as “yes,” “I want to sit,” and even “I need medical treatment.”

Read more…

UCTRONICS’ PoE HAT Mini Adds Power-over-Ethernet to a Raspberry Pi in Tiny Footprint

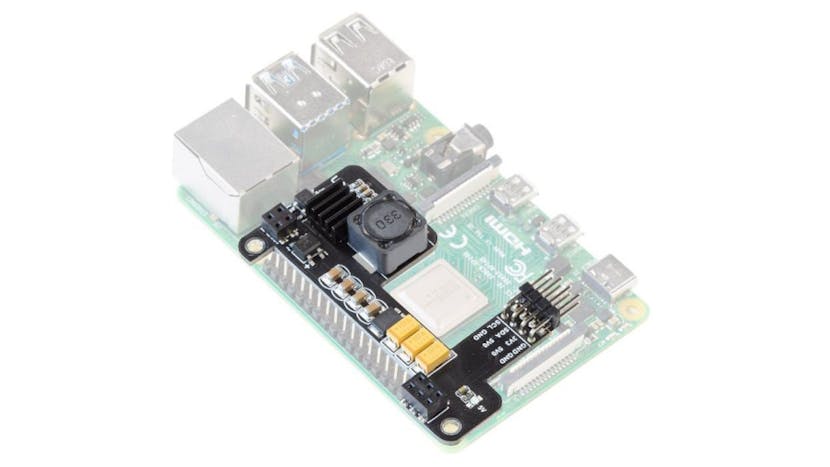
Designed to leave most GPIO pins free and not block the SoC, UCTRONICS’ PoE HAT Mini is an interesting add-on for Power-over-Ethernet.

UCTRONICS has launched a pair of alternatives to the Raspberry Pi Power-over-Ethernet (PoE) HAT, and while one is a near-copy the second is considerably smaller: the PoE HAT Mini.

The original Raspberry Pi PoE HAT was unveiled three years ago alongside the Raspberry Pi 3 Model B+. Designed to simplify cabling for remote installations, the add-on connects to the Raspberry Pi’s general-purpose input/output (GPIO) header and a second dedicated header found only on the Raspberry Pi 3 Model B+ and later Raspberry Pi 4 Model B, and allows the device to be powered using an Ethernet cable and a compatible switch or power injector.

Read more…

This Giant Display Uses 1,152 Seven-Segment Digits to Show Graphics

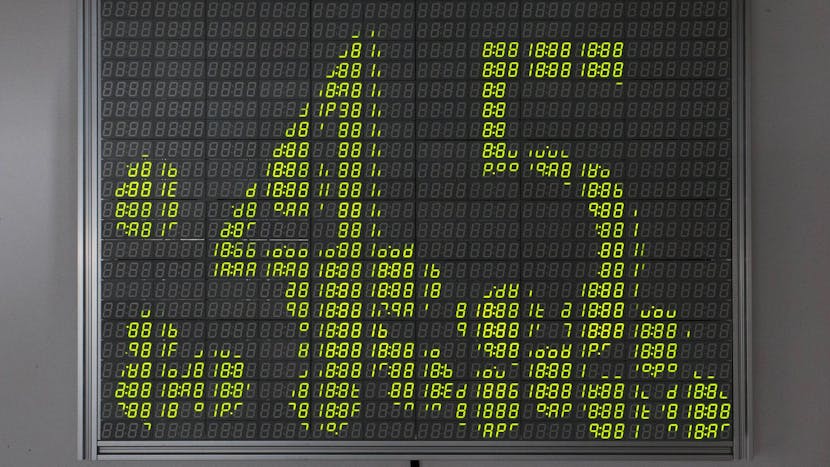
Divided across a matrix of 7,200 segments within 1,152 individual digits, this complex display is a unique way to draw images.

Ordinary displays typically feature a matrix of LEDs or liquid crystals that illuminate in specific patterns to generate images. On the other hand, the classic seven-segment module uses, as the name implies, seven LED segments that light up when power is applied. Some modules even combine several of these together and sometimes add decimal points. Maker Chris Combs had the idea to combine these two display technologies together by using the individual segments within each module as a pixel to draw a large image within a massive display. This gives a very retro, yet futuristic, aesthetic that is hard to replicate otherwise.

Read more…

Arduino Sinewave Generator

A signal generator usually has various signals that is can generate, such as Sine, Square and triangle. Others have a sweep function and an arbitrary waveform. These are useful tools in the workshop. They can be used to test out audio circuits, op amp circuits and testing circuit response. Most modern function generators can easily put out frequencies up to 1 Mhz.

So, while I did not expect an Arduino based sine wave generator to replace my desktop function generator, I thought it would be interesting to see how to go about designing one and how it would perform.

Read more…

How To Make Robots Move Smoothly | Arduino Tutorial

There are lots of great animatronic and robotics props and projects out there, and it’s easy to make r/c servos and other actuators move using the Arduino servo library. This means that the servos stops and start very suddenly, moving as fast as they can between positions. In this video I’m going to show you two lines of very simple code to make things smoother.

Sensitive Arduino Lightning Detector with Homemade Sensor

How to make a sensitive homemade lightning detector based on cheap AM receiver IC TA7642 and Arduino Nano.

A lightning detector is a device that detects lightning produced by thunderstorms.
In one of my previous videos, I showed you how to make such a detector with the help of the AS3935 sensor board which is specially designed for this purpose. This time I will show you how to make same such device, but now with a homemade detector circuit based on cheap AM Receiver IC TA7642.

Read more…