3D Printing : (the famous) Ikea Lack enclosure for Ender 3 Pro

Background
There are a lot of article on the Internet about this topic. How to “turn Ikea Lack tables to 3D printing enclosure?” This is a trending topic. But to be honest, I never find the one that takes your by hand from start to beginning. This is the challenge of this post and I really hope you will like it !

Let’s go !

First, you need a minimum of two Lack tables from your local Ikea store. It works perfectly with three if you want a higher construction. For me two pieces are the ideal size since it will be on my desk. But if you want to have the furniture laying on the ground, three is indeed a better choice.

Read more…

A pushbutton control panel for your Zoom calls

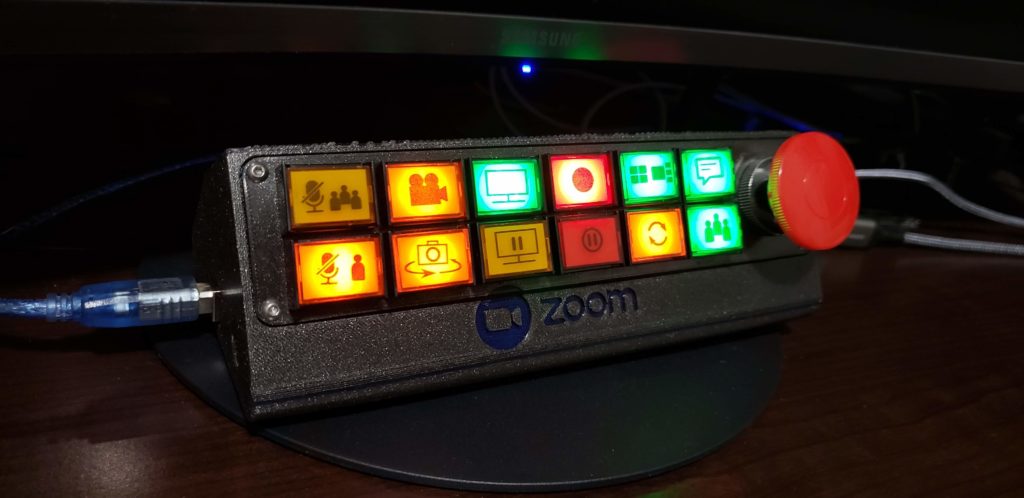
Today with most people working from home using teleconferencing applications, a custom control panel for such interactions could come in handy. This inspired professor Elena Long to design her own Zoom interface around an Arduino, a 3D-printed enclosure, and a series of pushbuttons that allow for custom printed icons.

Long’s device features 12 main buttons — five momentary, seven latching. These are wired to light up via LEDs. There’s also a large red mushroom button on the end provides a final latching input, which is perfect for aborting calls with a flourish.

Read more…

DIY Mini CNC Laser Engraver.

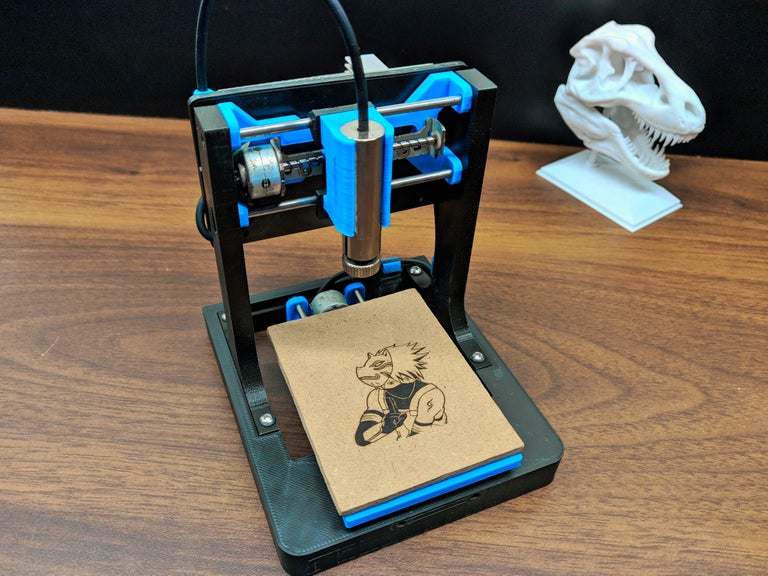
This is an Instructables on how I Remixed my old CNC Laser engraver and made a Stable version of an Arduino based Laser CNC engraver and thin paper cutter using old DVD drives and using 250mW laser.

Old Version of My CNC :https://www.instructables.com/id/Mini-CNC-Laser-Wood-Engraver-and-Paper-Cutter/

Old version was not much stable and had some wobble due to uneven parts, so I decided to make a stable version of it using 3D printed parts. Which gave me excellent results in laser engraving even in very tiny details, this machine is cable of doing the work well. You can see the details in the eye of the engraved picture.

Playing area is 40mm x 40mm max.

Read more…

Homemade machine puts a new spin on winding yarn

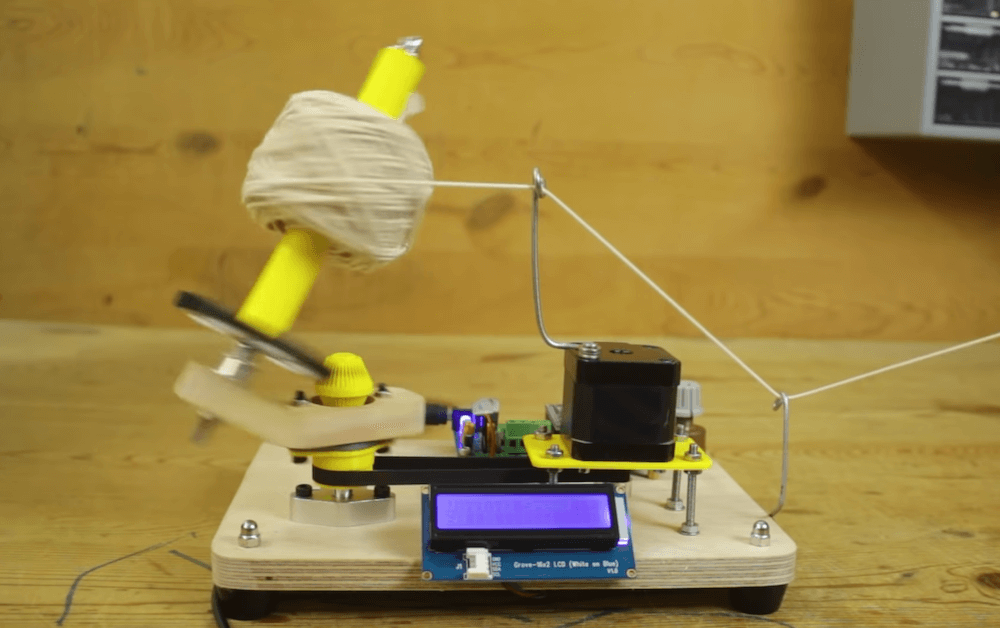
If you’ve ever wanted to wind balls of yarn, then look no further than this automated machine from Mr Innovative. The YouTuber’s DIY device is powered by an Arduino Nano and an A4988 stepper driver, spinning up a round conglomeration of yarn via a NEMA17 motor and a timing belt.

The ball is wound on an offset spindle, which is mechanically controlled to pitch back and forth and spin itself as the overall assembly rotates, producing an interesting geometric pattern.

Read more…

EPaper Dashboard

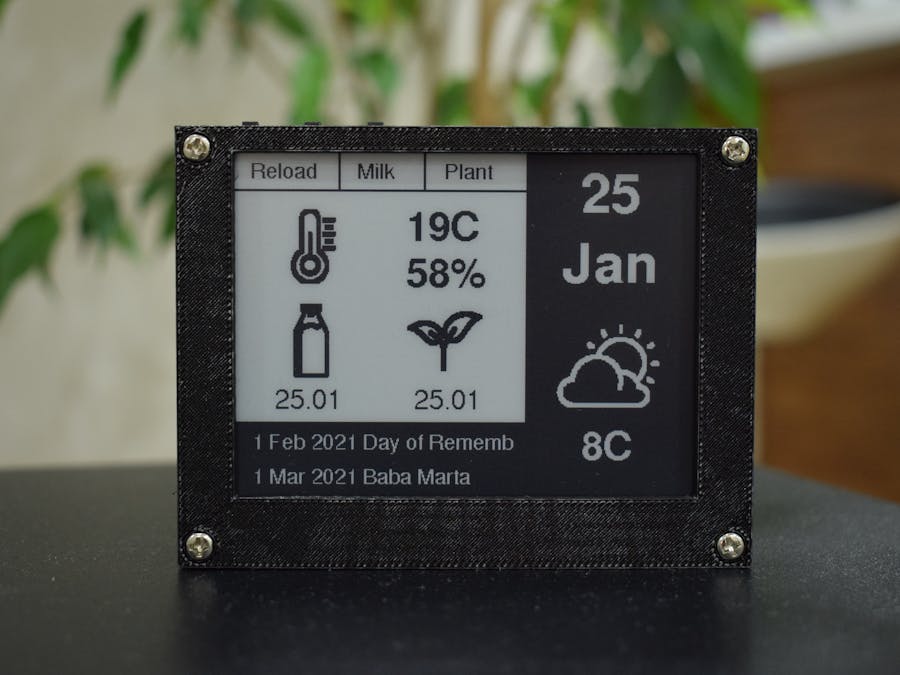
I needed a device that can store the date of a specific event, which I can check later. To be more precise, I needed a device that can store the last date I fed the flowers. The device must be portable and powered by a battery. And because a whole display only for one date is a bit of a waste, I decided to add more features like weather and calendar widgets.

The obvious choice for the display was E-Paper, and for the IC initially, I picked esp8266, but after comparing it with esp32, I had to switch it.

The esp32 has a feature that is very important for this project – esp_sleep_enable_ext1_wakeup. This allows IC to wake with almost any from the GPIO(here a good tutorial https://randomnerdtutorials.com/esp32-external-wake-up-deep-sleep/).

Read more…

Arduino Color Sensors – TCS230 & ISL29125

Today we will be working with two different color sensors.
I’ll show you how they work, how to hook them up, how to calibrate them, and how to extract RGB values from them.

The TCS230 (also known as the TCS3200) is a popular and inexpensive color sensor that operates on a wide voltage range. It outputs a square wave whose frequency reflects the color intensity.

The Sparkfun ISL29125 is a more capable sensor that provides a 16-bit digital output using the I2C bus. It also has a programmable interrupt feature that you can set to trigger in response to a specific color.

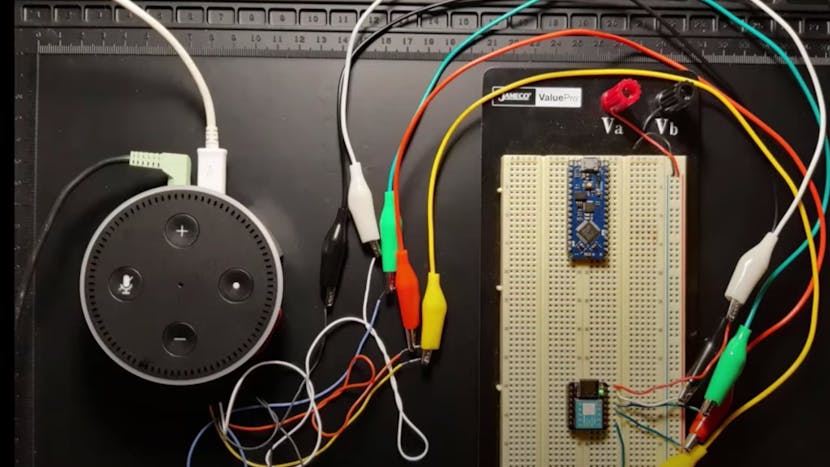
Keep private conversations private by simultaneously pressing volume up and down on this modified Echo Dot.

If you want to start an argument between technophiles, just bring up smart speakers. An outpouring of strong opinions is all but guaranteed to follow. Some will point to the conveniences of interacting with devices by voice command. Others will focus on the privacy concerns associated with having an Internet-connected speaker in your home, sending who knows what, to who knows where, to do who knows what.

Read more…

Build a Cheap Mouse Jiggler to Keep a Computer From Falling Asleep

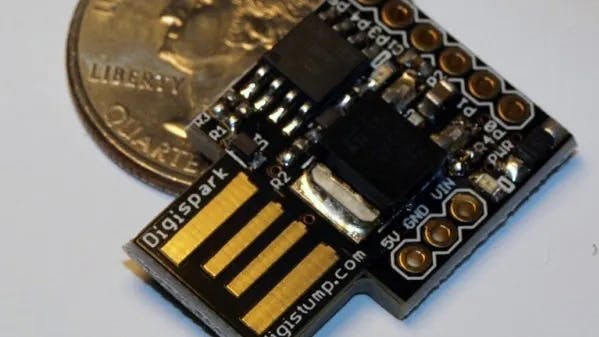
This guide will walk you through how to build a cheap mouse jiggler using a Digispark board.

There is a reason that your computer automatically goes to sleep and locks itself when you don’t use it for a little while, and it isn’t just to save power. It is a simple and effective way to improve security, since so few people care enough to manually lock their computer when they take their lunch breaks or leave for the night. A really easy way to circumvent that security is to keep the computer from going to sleep by tricking it into thinking the user is still there. One device that can be used to achieve that is a mouse jiggler, and this guide will walk you through how to build a cheap one using a Digispark board.

Read more…