Our friends at PCGamesN.com review and break dow a wide range of PC compatible gaming controllers so you can choose the best for your setup.
SEGA Partnering with Google on NEW Home Console? | RGT 85
It looks like Google will be announcing their entry into the home console market at GDC 19, but it looks like they aren’t coming alone. One of the major partners with Google’s home console allegedly is…SEGA? After the success of Google Project Stream, what does Google have up their sleeve?
Using GPIO Pins for Joysticks and Buttons in ReptroPie
Having worked somewhat more than a little bit with PinkyPi and PinkyPi Pro, I had to figure out how to get the buttons and joysticks to work with the display hat buttons. These were wired to GPIO pins on the Raspberry Pi.
This is where mk_arcade_joystick_rpi comes into play, designed to work with buttons and joysticks connected to the GPIO pins on the RaspberryPi.
You can use this in items such as our PinkyPi project, DIY handhelds and Minicades as well as full upright Arcade cabinets!
(Taken from the git page)
It is written for 4 directions joysticks and 8 buttons per player. Using a MCP23017 extends input numbers to 16 : 4 directions and 12 buttons.
It can read one joystick + buttons wired on RPi GPIOs (two on RPi B+ revision) and up to 5 other joysticks + buttons from MCP23017 chips. One MCP23017 is required for each joystick.
But for 1 player and in 2 player need situations, the setup is fairly simpleI
Installation
Download the installation script :
mkdir mkjoystick
cd mkjoystick
wget https://github.com/recalbox/mk_arcade_joystick_rpi/releases/download/v0.1.4/install.sh
Update your system :
sudo sh ./install.sh updatesystem
sudo reboot
You must reboot before the next step :
sudo sh ./install.sh
Loading the Driver
For a single player setup, use the following.
sudo modprobe mk_arcade_joystick_rpi map=1
Or for a 2 player setup, use the following.
sudo modprobe mk_arcade_joystick_rpi map=1,2


There are several other options for pin settings and mappings, that can be found in the GitHub for the original project
Auto load the driver at Start up
sudo nano /etc/modules
and add this line at the bottom to load the driver :
mk_arcade_joystick_rpi
Then create the following file /etc/modprobe.d/mk_arcade_joystick.conf :
sudo nano /etc/modprobe.d/mk_arcade_joystick.conf
and add the following line with your mapping configuration :
options mk_arcade_joystick_rpi map=1
Testing and troubleshooting
Before we start into RetroPie, you can do a test and verify the output and functionality of each button.
To test player 1 or a single player setup, use;
jstest /dev/input/js0
To test player 2 on a 2 or more player setup, use;
jstest /dev/input/js1
The same if you have more players, just increase the “js#” value at the end.
You can then see an output of all your buttons and their status, off is default and when the button is active they goto on.

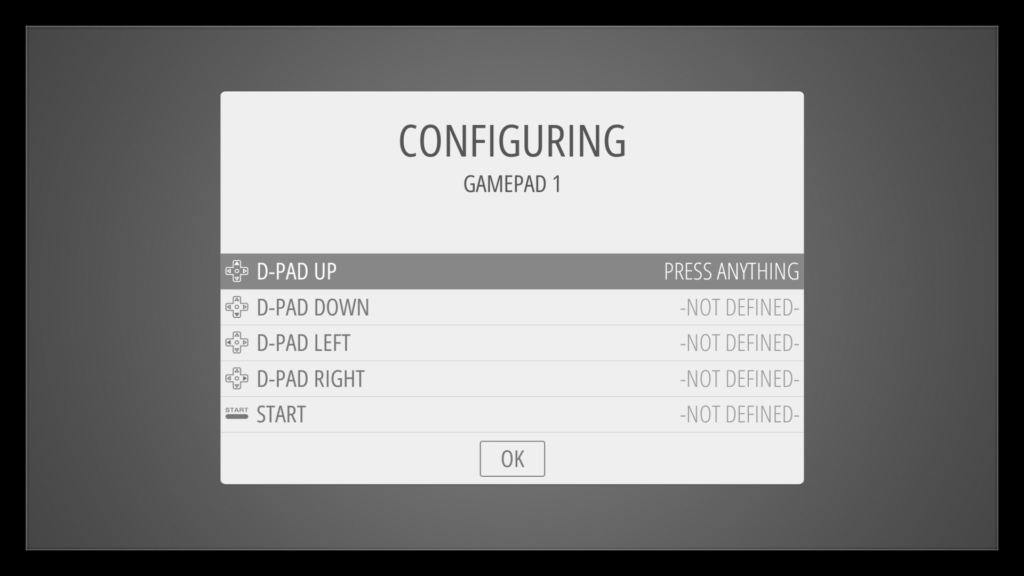
Once everything checks out, load up RetroPi and run through the controller configuration.
You may need to reset your configuration if you have already had an existing controller setup.
Google’s Stadia Announcement at GDC 2019 in Under 14 Minutes
All the biggest announcements from Google at GDC 2019.
The $139 NVIDIA Shield TV – An Emulation Powerhouse | MVG
The NVIDIA Shield TV is one of the most powerful Android based 4K streaming media player devices complete the NVIDIA Tegra X1 chipset and fast clock speeds. It’s capable of emulating GameCube, Dreamcast , Nintendo 64, Sony PSP and much more. It was recently was on sale for as low as $119 over the Black Friday holiday weekend and MVG picked one up! Modern Video Gamer takes a deep dive on just how well it performs and if its worth the money!
World’s Smallest Working Gamecube Controller
Madmora has created a very tiny, yet functional Gamecube Controller, built off a novelty keychain!
You can find the full build log here,
GameCube Controller
The Legend of Zelda Ocarina of Time Online Multiplayer | 2-15 Player Co-Op Story Mode
The Legend of Zelda Ocarina of Time Online, is a Brand New multiplayer mode for the Nintendo classic. This project hopes to give us a 2-15 player, cooperative mode in Ocarina of Time, let’s take a look