Making a Custom Wii took alot of effort, custom PCB design and a custom 3D printed case, follow along to see how it was made.
DIY
DIY Android+Arduino Controlled Labyrinth (Maze) Game
The device presented in the video represents marble maze game that is controlled using a smartphone via Bluetooth connection.
The device consists of two parts. The first is the Arduino part where the servo motors are controlled and the second part where the signals generated by the accelerometer are sent via the Android smartphone. It consist few components:
– Arduino Nano microcontroller
– Bluetooth adapter
– and two 9g servo motors
ESP8266 • Adafruit Cloud Iot Pet Feeder • Robust Metal Dispenser •Mobile App
IOT PET FEEDER This project works based on IOT app. The app is connected to io.adafruit.com. When “FEED”button is pressed in the app, the data is sent to cloud. Food dispenser monitor the cloud, when it receives the “FEED”command then it opens the food in the tray.
How to Make a WiFi Repeater using ESP32 NodeMCU | WiFi Router Range Extender ESP8266
In today’s video we look at how to extend the range of an existing WiFi network by repeating the signal. This extension will be done using an ESP32 NodeMCU. This process also works for ESP32 only.
ESP32 as WiFi NAT router. It can be used as — Simple range extender for an existing WiFi network — Setting up an additional WiFi network with different SSID/password for guests or IOT devices.
DIY Miliohmmeter for Measure Low Value Resistances
Measuring low resistances with a standard multimeter is difficult and very inaccurate. This device solves this problem and serves for accurate measurement of small resistances in the range of 0.1 ohm up to 50 ohms.
AM/FM/SW Radio Receiver – Si4730 / Si4735
This Arduino radio receiver has an attractive look and nice features using an inexpensive color TFT / Arduino and fell componets.
It includes the indication of the frequency in large numbers in the style of vintage seven segments, two bargraphs for indicating the signal strength, selection of 7 BW filters for AM, indication of the wavelength of the band, 2 color themes, Stereo/Mono indication and 14 bands for coverage of LW / MW / SW / CB, ranging from 100kHz to 30MHz and the commercial 64-108MHz FM band.
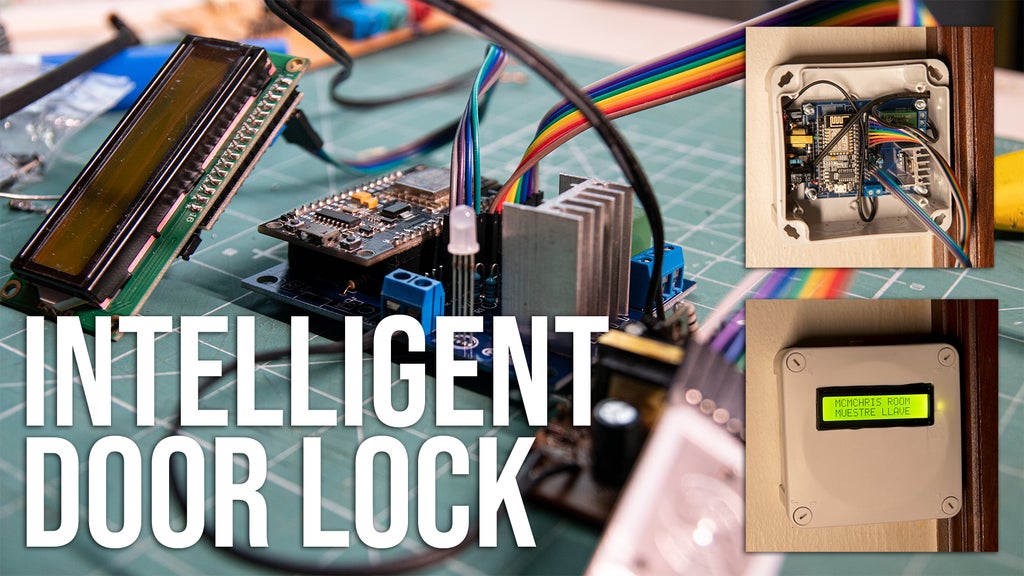
RFID Smart Door Lock With ESP8266
In this tutorial I am going to show you how to build your own access control system with RFID and Arduino + Cloud logging of attendance.
It is a very good project for IoT beginners and enthusiasts, hope you like it.
Automated Sharpie Support Release Substrate for Desktop 3D Printer Instructions
A basic instructional video on automating a support release substrate added to print supports by utilizing a sharpie permanent marker. This method avoids a true dual extruder, and additional release filament. An ingenious way to release support material, while maintaining a proper connection to the object all while increasing surface quality with by increasing support! An improvement on the methods of Tumblebeer -(https://hackaday.com/2020/05/27/impro…). Big shout out to all that helped me thing through the software logic, and to those who helped me through the Z script portion (Sharktank72@reddit). Final print towards the end of the video.
How to Make an Interactive Coffee Table: Reactive LED Coffee Table | Arduino Projects
In this video we describe how to make an interactive coffee table using ws2812b leds and an Arduino. Not only does this coffee table have WS2812b leds and can display cool light animations, but it doubles as an interactive coffee table that lights up when things get up close to it. It functions by creating a cluster of nodes made up of 2 IR emitters, 2 photodiodes, and 4 ws2812b leds. Upon program startup, each node reads a base value of the ambient light. When an object gets close to the node, Infrared (IR) light is bounced off the object and into the photodiodes. This causes the diodes to change voltage and thus lets the arduino know if something is close. The IR emitters and photodiodes basically act like a proximity sensor and anytime something gets close to it, the sensor will go off. Please comment with any questions you have and like the video if you enjoyed it. If you want to see more content like this one, consider subscribing.
DIY Pin Pointer Metal Detector
A traditional metal detector can locate a burried item and give you a rough location of the object belw the ground
A pinpointer enables you to pin down an object’s location, make a smaller hole when digging, and extract the item. Also, it can be used as handheld metal detector used by emergency responders to conduct security screening of individuals at access control checkpoints.