Sensitive Arduino Lightning Detector with Homemade Sensor

How to make a sensitive homemade lightning detector based on cheap AM receiver IC TA7642 and Arduino Nano.

A lightning detector is a device that detects lightning produced by thunderstorms.
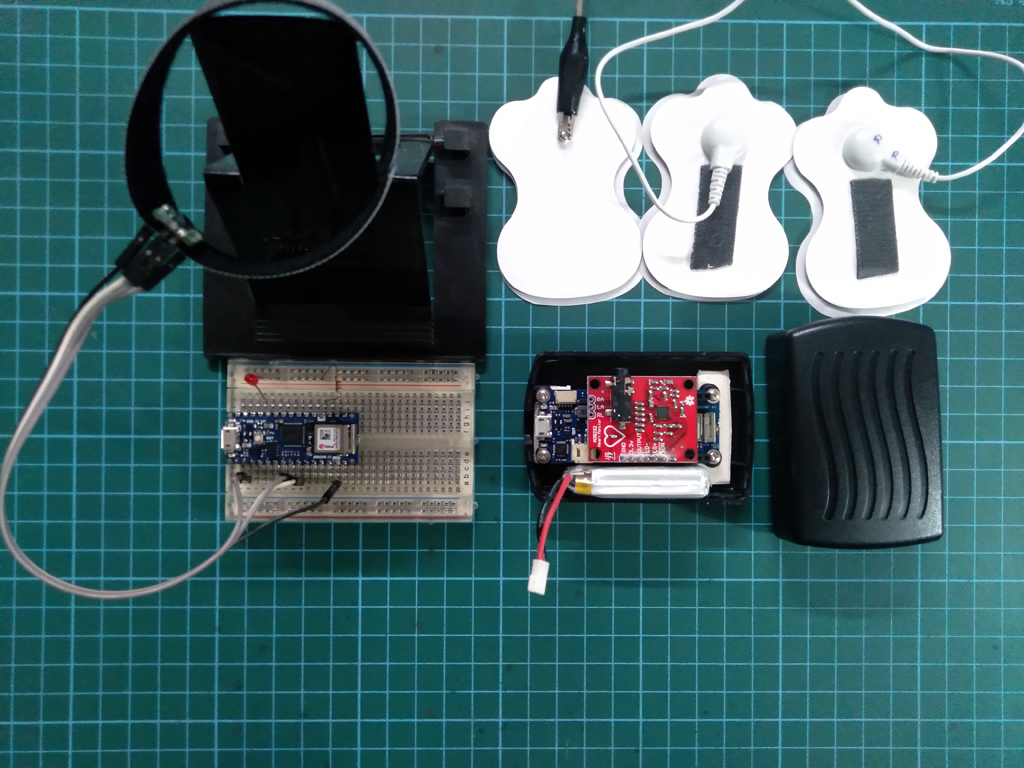
In one of my previous videos, I showed you how to make such a detector with the help of the AS3935 sensor board which is specially designed for this purpose. This time I will show you how to make same such device, but now with a homemade detector circuit based on cheap AM Receiver IC TA7642.

Read more…

The new Arduino CLI 0.19.0 is out and better than ever!

There’s a truckload of news from the Arduino Tooling Team today: Arduino CLI 0.19.0 is now available! This release has tons of great enhancements, exciting new features and heaps of bug fixes. Some things required quite a bit of breaking changes but they’re worth the hassle.

The highlights of this release are certainly the addition of pluggable discovery and the internal restructuring of the startup steps of the Arduino CLI. These affected the JSON output of some commands and the gRPC interface functions, which is documented in the upgrading guide.

Read more…

Sparkpad Sparks Joy for Streamers

The best streamers keep their audience constantly engaged. They might be making quips and doing the funny voices that everyone expects them to do, but they’re also busy reading chat messages aloud and responding, managing different scenes and transitions, and so on. Many streamers use a type of macro keyboard called a stream deck to greatly improve the experience of juggling all those broadcasting balls.

Sure, there are dedicated commercial versions, but they’re kind of expensive. And what’s the fun in that, anyway? A stream deck is a great candidate for DIY because you can highly personalize the one you make yourself. Give it clicky switches, if that’s what your ears and fingers want. Or don’t. It’s your macro keyboard, after all.

Read more…

DIY Reflow Plate

I’m preparing a video where I show you how to make the PCB design and order the panel version for your board and then solder all components at once. In that way you can save time and finish your product faster so they will be ready for sale. To do that I need a reflow hot plate and that’s what we will build today using a second-hand clothes iron. We need to measure the temperature, show the power and that temperature on a screen so the user could see the values, we need to control power and in this case a lot of power because my iron is of 3000W, and then we need to have some sort of menu or control in order to select the settings. Let me show you what parts we need, the connections I will do, how to measure and control the temperature at high power and also show you the code. Finally, let’s see if this homemade reflow hot plate will work and if I can reach the desired temperature curve, so what do you think, will it work? So, guys, let’s get started.

Read more…

RGB LED Etch-A-Sketch

A modern take on an old classic — create colour pixel art by turning two rotary encoders to control the horizontal and vertical position of the cursor, click to change colour. All controlled by an Arduino Nano.

How it works

  • Turning the left encoder moves the cursor left and right. Pressing it cycles forward through an array of eight colours
  • Turning the right encoder moves the cursor up and down. Pressing it cycles backwards through the array of colours
  • When you move the cursor, the selected colour remains in the previous ‘pixel’
  • The cursor is shown brighter than the other pixels so users can see where it is.

Read more…

Emulate the legendary Altair 8800 on your Arduino Mega

The Altair 8800 is one of the most important machines in computer history and many consider it to be the first personal computer. But not many computer users today would recognize it as such. At release, it couldn’t even output video and users could only interact with the Altair 8800 through a terminal or the front panel. Now you can relive history by emulating an Altair 8800, complete with front panel, on your Arduino Mega.

Read more…

Vital Care is an Arduino-based device for the continuous monitoring of vital signs

It is probably well known by now that COVID-19 can cause serious side effects in people that last for months at time, meaning that recovering from the disease can be an arduous process. Some symptoms include trouble breathing, heart inflammation, and blood clotting, so being able to track these conditions as they progress is vital to ensuring ongoing safety for a patient. In response, Kamrul Hussain created the Vital Care project and entered it into element14’s Design for a Cause 2021 contest, where makers were challenged to use the Arduino Nano 33 IoT in some way for the good of humanity. 

Read more…

Robot “Repairs” Clock By Pushing Minute Hand

Why replace a broken clock, when you can just get a robot to push the hands for you?

When a clock breaks, the normal choices would be: fix it, replace it, do without, and for Hackster readers, strip for parts. Developer Hendrick, however, seems to have come up with another option: leave it broken, but program a four-axis robot to incrementally move the minute hand. It’s an unconventional choice, but as seen in the video below, who wouldn’t want a clock that functions in such an interesting manner?

Read more…