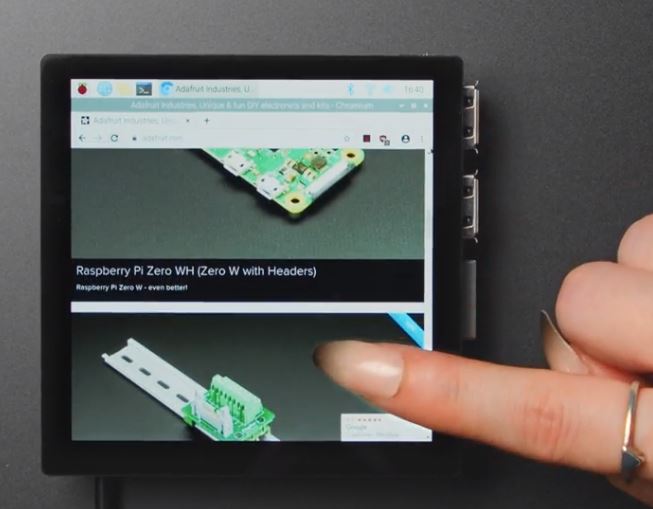
With the HyperPixel 4.0 Square, Pimoroni has developed a comparatively high-resolution display, especially for single-board computers like the Raspberry Pi. The model supports capacitive input too has a resolution of 720 x 720 pixels with a pixel density of 254 PPI.
Most people that I talk to in the various 3D Printing communities I am a part of simply plug in a Raspberry Pi Camera or USB Webcam and run with it. People do this without even considering that settings could be tweaked to make the video captured by these cameras better.
When I started looking into just what could be done to optimize cameras in OctoPrint I found that much of the information available was either outdated or a raw data dump that was not easy to read (or act upon) for most users. With updates to OctoPrint, a lot of information has changed and most of the information on this subject has not evolved. Because of this, I thought I would try my best to summarize what I had found and updated to the latest version of OctoPrint in an effort to perhaps save some of you some time.
Is the Official Raspberry Pi 7 inch Touch screen worth buying in 2020 for the Raspberry Pi 4? Let’s Find out. In this video, we take a look and test out the Official Raspberry Pi 7” DSI touchscreen paired with the Raspberry Pi 4 It works with no drivers in Raspbian and RetroPie and has a resolution of 800×480 but is it worth buying?
Raspberry Pi 4 OMV NAS tutorial, including hardware selection, software installation and configuration. This video explains all you need to know to start using a Pi 4 — or any other Raspberry Pi — for sharing files across a local area network (LAN) using OpenMediaVault.
PLEASE NOTE THAT on December 9th 2019, OpenMediaVault removed (depreciated) the image files for directly installing OMV on a Raspberry Pi 4b or other SBC, with the installation process now involving the installation of Armbian, and then OMV installation via a terminal. This means that the install method shown in this video sadly no longer works. Sorry. 🙁 You can download a pdf explaining the new method from here: https://sourceforge.net/projects/open… by clicking on the links for OMV 4 or 5 for SBCs. I will update this video description and related pinned comment if the situation changes and the direct installation files become available again.
The all-new Rec Room Masters 24″ Xtension Gameplay Jr. Arcade Cabinet is amazing and in this video, we take a look at this new Arcade Cabinet. With real SUZO HAPP buttons and sticks an Ultimate I-PAC Usb encoder and support for the Raspberry Pi Running Retropie Or PC this cabinet is shaping up to be one of my favorites can it beat Arcade1Up cabs? In my option yes it can and does. This is a DIY arcade cabinet and you will need to add your own 24 inch TV or Monitor plus a Raspberry Pi or PC running LaunchBox, Hyperspin or whatever your favorite emulation frontend is but once you have this up and running it’s gonna be hard to stop playing!
Voice-over-IP specialist YouTuber Innovate Asterisk has published a step-by-step guide to assembling a Raspberry Pi-powered tablet, comprised of common off-the-shelf parts and housed in a custom 3D-printed case.
“The concept of the project is to develop a 3D-printable, Raspberry Pi-based tablet. All parts (components) must be easy to obtain and readily available,” Innovate Asterisk explains. “It must have a battery, and it must be the primary source of power (meaning, it will charge up with a cable plugged in, but must have enough power to run without it.) It must be able to operate perfectly fine without a keyboard (meaning, everything in the user interface should work without an issue even if you don’t have a keyboard and mouse plugged in.)”
There is good news for prospective buyers of the diminutive Raspberry Pi 4 as the USB-C issue that stopped the device working with some power supplies has been fixed.
The issue arose with the change to a USB Type-C connector for powering the device. An error in detection circuitry on the Pi side caused some power adapters to mistake the computer for an audio device, and therefore not shove the expected power down the line. The Raspberry Pi Foundation’s own USB power supply (yours for £8) was fine, other cables (marked with an “e”) were less so.
Pi fans have been speculating over the last few months that the fix had landed after purchasers reported spotting a new design in the wild.
This video covers the basics of getting started with the Raspberry Pi. We start with an overview of the Raspberry Pi platform, all of the accessories needed to get started, and move onto how to install the OS and connect remotely to the Pi.
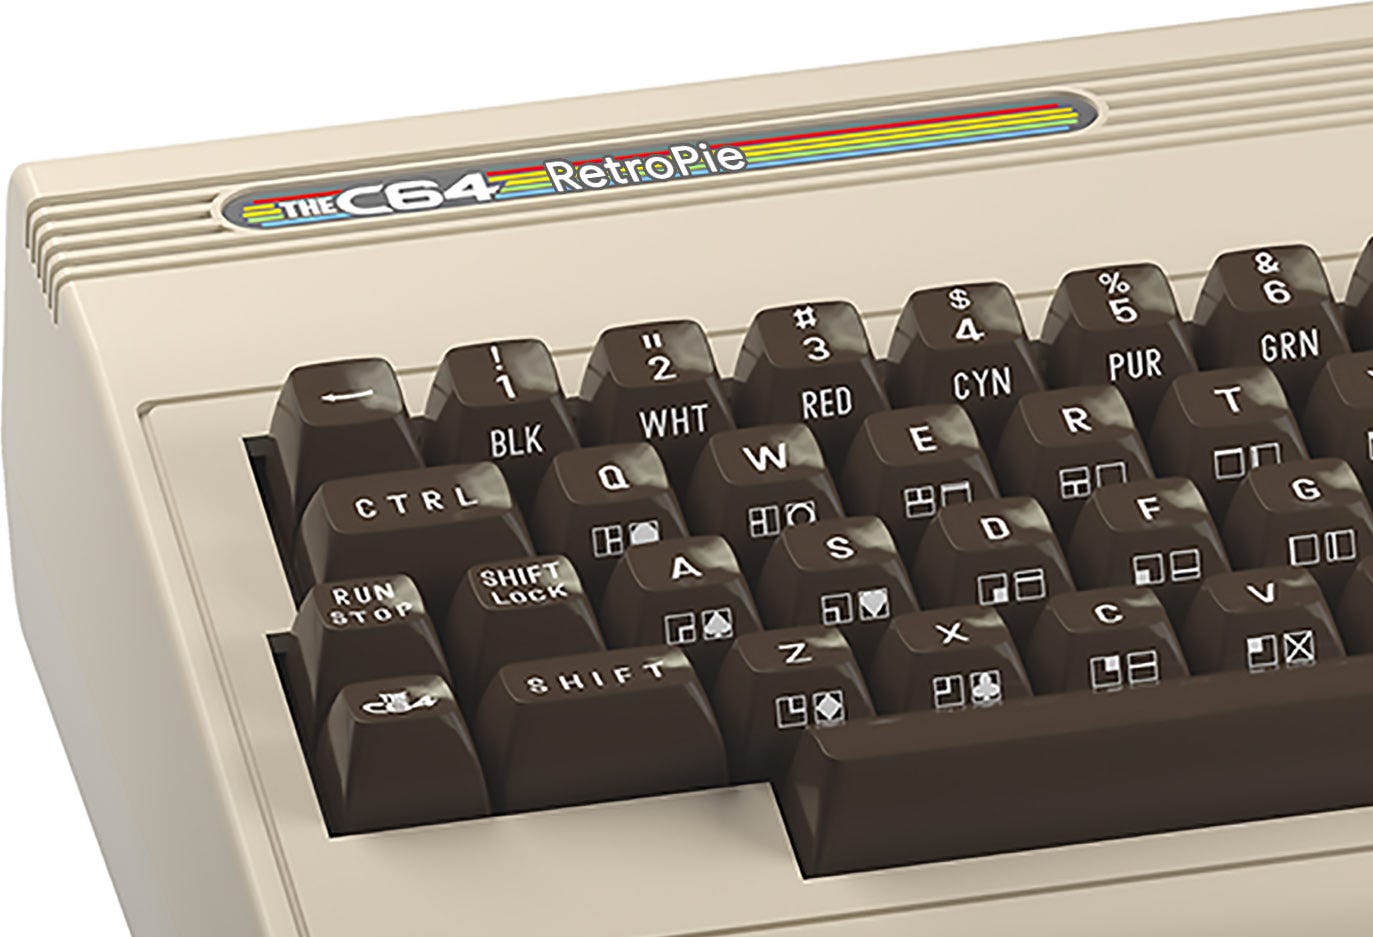
TheC64 called the “Maxi” was launched some weeks ago. I was one of the backers on the first campaign on IndieGoGo so I received the mini last year also.
The “Maxi” is O.K. for the casual gamer / nostalgia guy who wants to play some commodore 64 and Vic-20 games. I wanted to use my C64 everywhere so I decided to put a RaspberryPi inside using the “Retropie” software that supports VICE which just in christmas, released their 3.4 version.
A firmware project designed to bring the Raspberry Pi 4 to Server Base Boot Requirement (SBBR) compliance is now in v1.1.
A community effort to get the low-cost yet surprisingly powerful Raspberry Pi 4 single-board computer “ServerReady” is bearing fruit, releasing an open-source Unified Extensible Firmware Interface (UEFI) and Advanced Configuration and Power Interface (ACPI) firmware compatible with Arm’s Server Base Boot Requirement (SBBR) specification.