
Note - I am working on Kits, all the parts needed, just print your case and add the Raspberry Pi + SD card and hat of your choice. This kit would include the battery, charger, screws and standoffs, amp, power switch etc. Please let me know in comments below if you would be interested.
Lastly a PCB is being designed for easier DIY assembly of the amp layer.
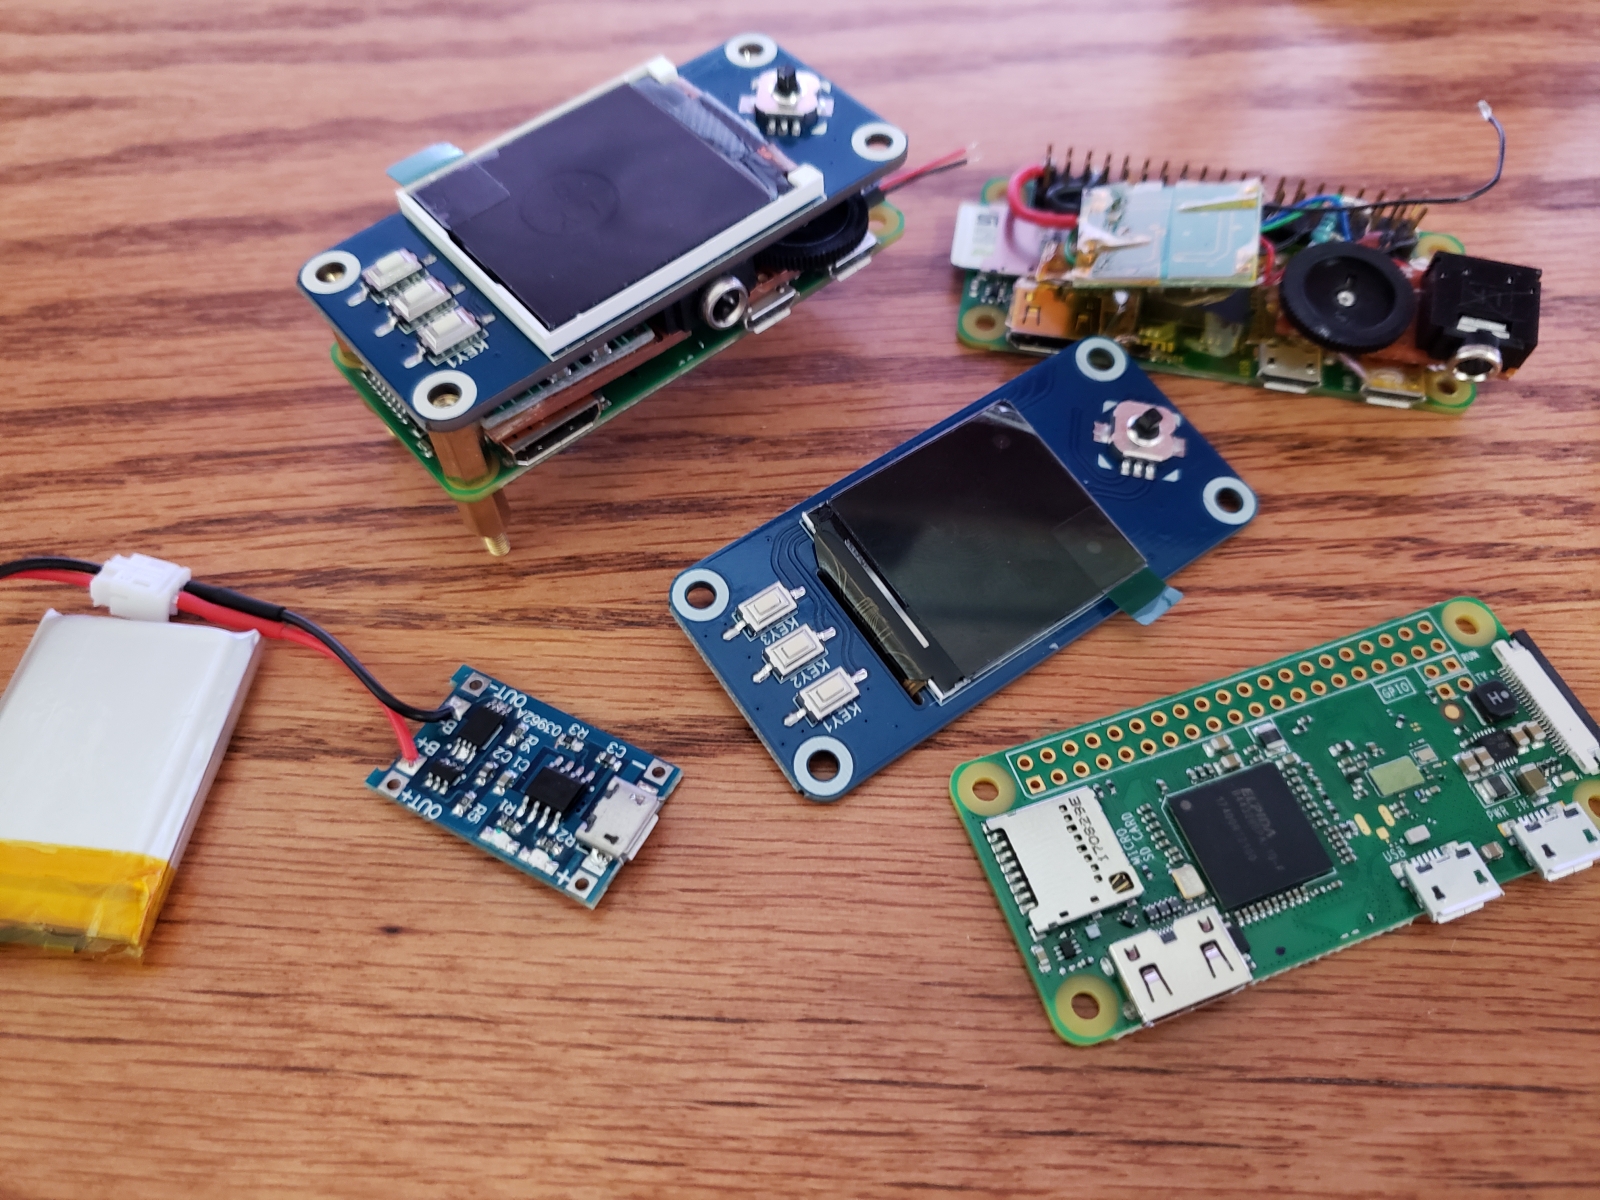
I've finally started to wrap up the first build of a Pi Zero W based handheld game console I've been toying around with.
The base of it, of course, is a Raspberry Pi Zero W. I've then added a 1.33 inch LCD hat with built in buttons and directional stick. Coupled with an amp, speaker, battery charger and battery all bundled into a 3D printed case I am working on.
https://www.youtube.com/watch?v=ZS_BkipcUi0
Parts List
(full parts kits can be purchased in our Web Store)
Raspberry Pi Zero W
WaveShare 1.33 inch IPS LCD Hat
MicroSD Card
TP4056 5V Battery Charging Module
0603 47KOhm Resistor for the Charging Module
23W Audio Amplifier
10KOhm Potentiometer
270Ohm Resistor
33nf Capacitor
Micro Speaker or Second Micro Speaker
500mAh Battery or eBay alternative
JST 2mm Battery Connector
Power Switch
M2.5x6mm Button head screws
M2.5x8mm Button head screws
M2.5 Assorted Nylon standoff kit (we use 4x 8mm female to female and 4x 11mm or 12mm male female standoffs)
NOTE on Standoffs! -
Due to the difficulty finding m2.5 x 11mm standoffs used in the middle layer, you can substitute with 10mm. Assemble in reverse in this case (starting at the top), this will assure correct button alignment.
Screw setup (from bottom to top)
- 6mm screw at very bottom into
- 8mm female/female standoff in bottom layer
- 11mm or 12mm male/female standoff in middle layer
- 8mm screw at very top securing to middle layer standoffs
3D Printed source files for PinkyPi on Thingiverse
Software
PinkyPi prebuilt RetroPie images can be found in our Downloads Section
Hardware Setup
For all the wiring I did the following;
Amp and audio;
NOTE - Audio wiring has been updated from original as well as the youtube video to correct the Pin2 and Pin5 connections. They have been corrected in the images and instructions below.
Pin GPIO18 on the Raspberry PI goes to Pin 5 of the 10KOhm Pot
This is our audio signal going into the volume control.
Pin 2 of the 10KOhm Pot goes into a 270Ohm resistor that is then pulled to ground through a 33nf capacitor as well as connected to the R audio input of the amp.
The purpose of the resistor and capacitor is a low pass audio filter to eliminate hissing and noise in the speaker output.
Pin 1 of the 10KOhm Pot goes to Ground on the Pi, as well as the ground for the Amp and Audio (-) line.
Low-Pass audio filter (used in this build to reduce hiss)
High-Pass audio filter (optional, blocks lower frequencies)
Lastly, I connected 5v from the Pi into the amp, you can use pin 2 or 4 on the Pi for this.

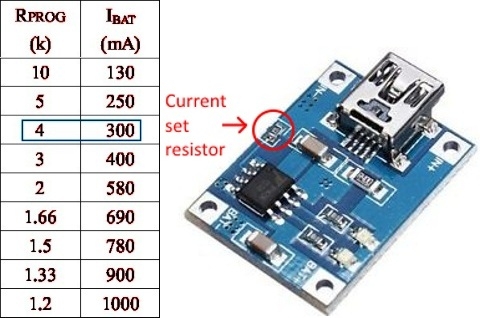
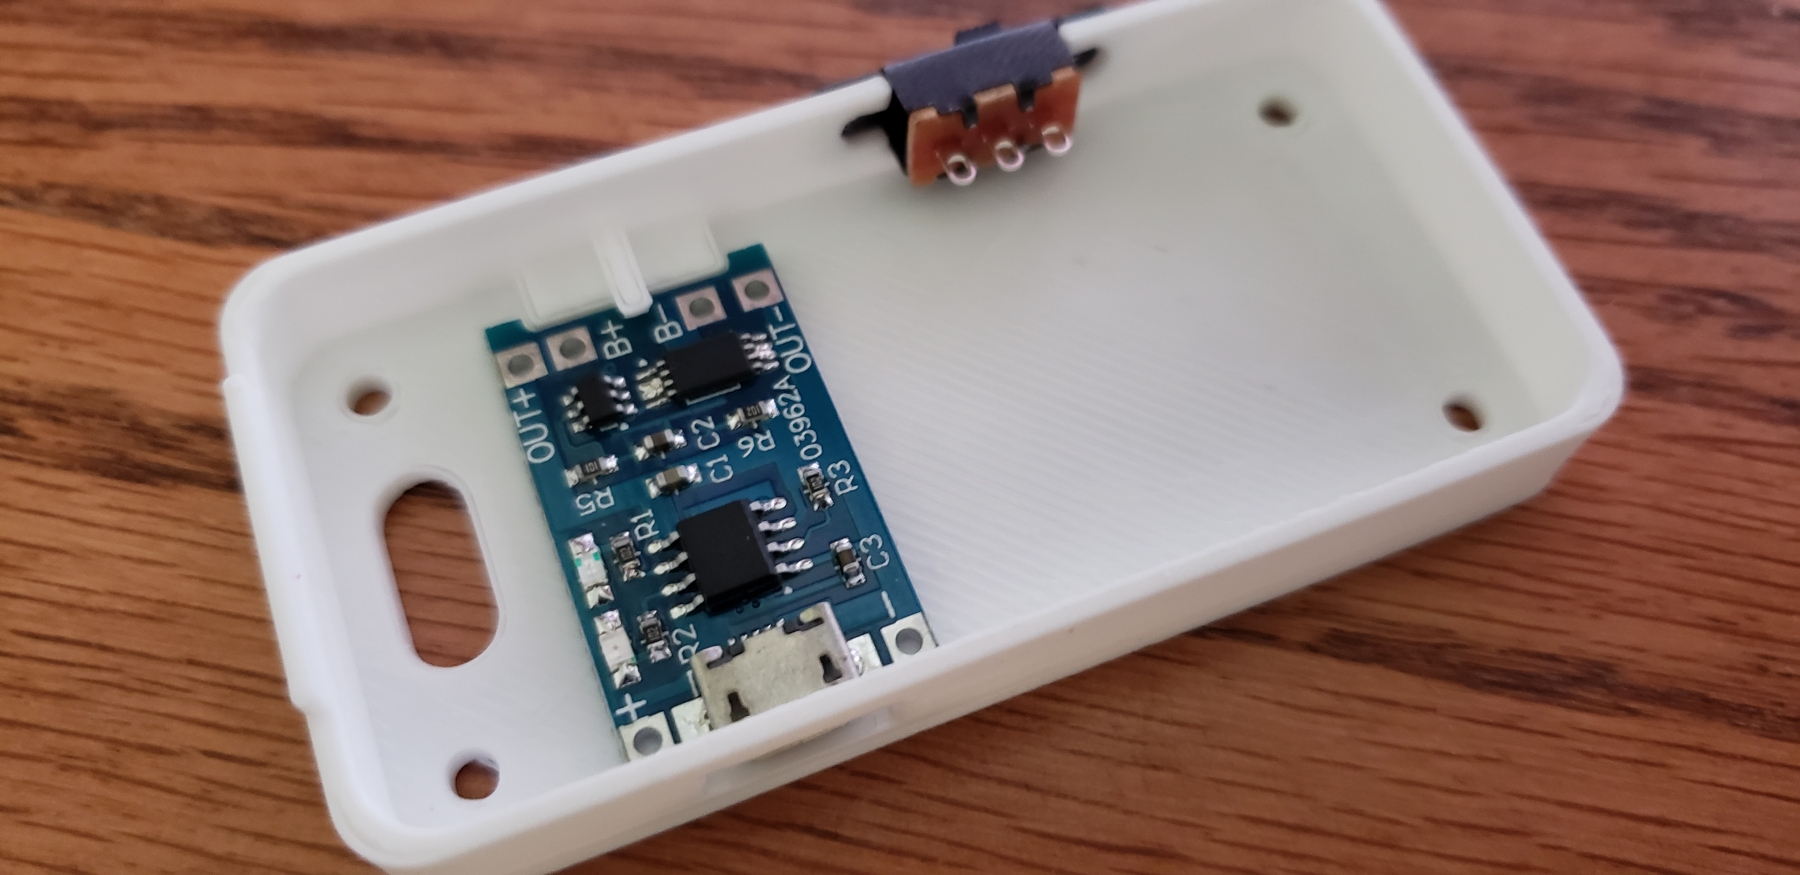
Now onto the TP4056 Charging circuit.
As shown here, based on your battery you need to chage the resistor at R3. I have a 500mAh battery, so I needed a 4.7KOhm resistor.
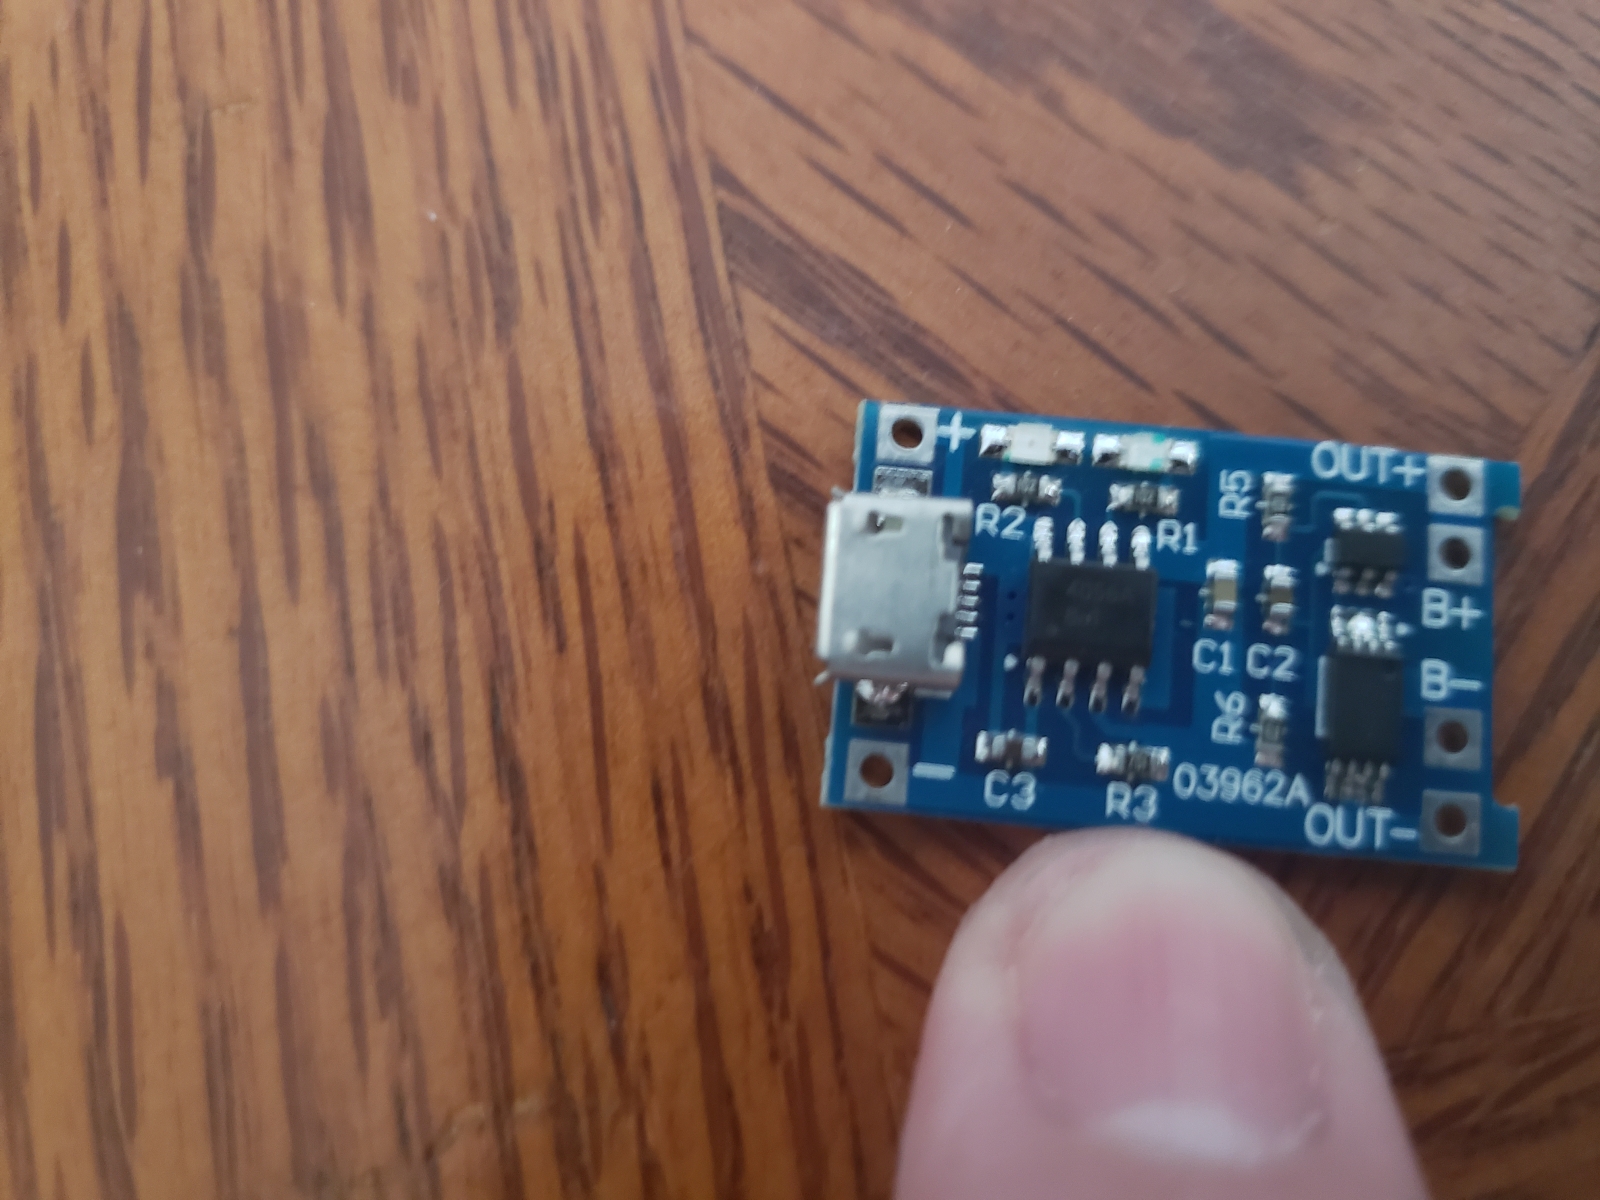
Next, we wire up one of the JST battery connectors into the B+ and B- on the TP4056 battery charger, and OUT+ OUT - onto the rear of the Raspberry Pi
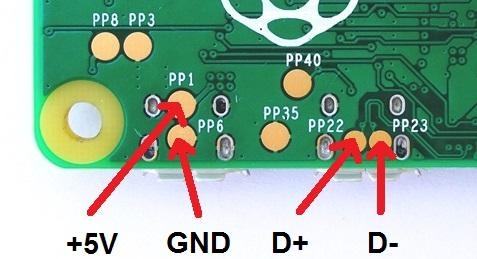
Connecting OUT+ from the TP4056 to PP1 on the bottom Pi and OUT - to PP6 on the Pi.
I have also been working on a 3D printer case for this build, you can find the top and buttons I have made so far on Thingiverse.
I've also since added the full case design
Next we will get into the Software setup, configuring the Pi and display as well as setting up a RetroPi build for tiny displays.
You can download the images from Our downloads section.
And follow our guide on how to flash the image to an SD card via Etcher.
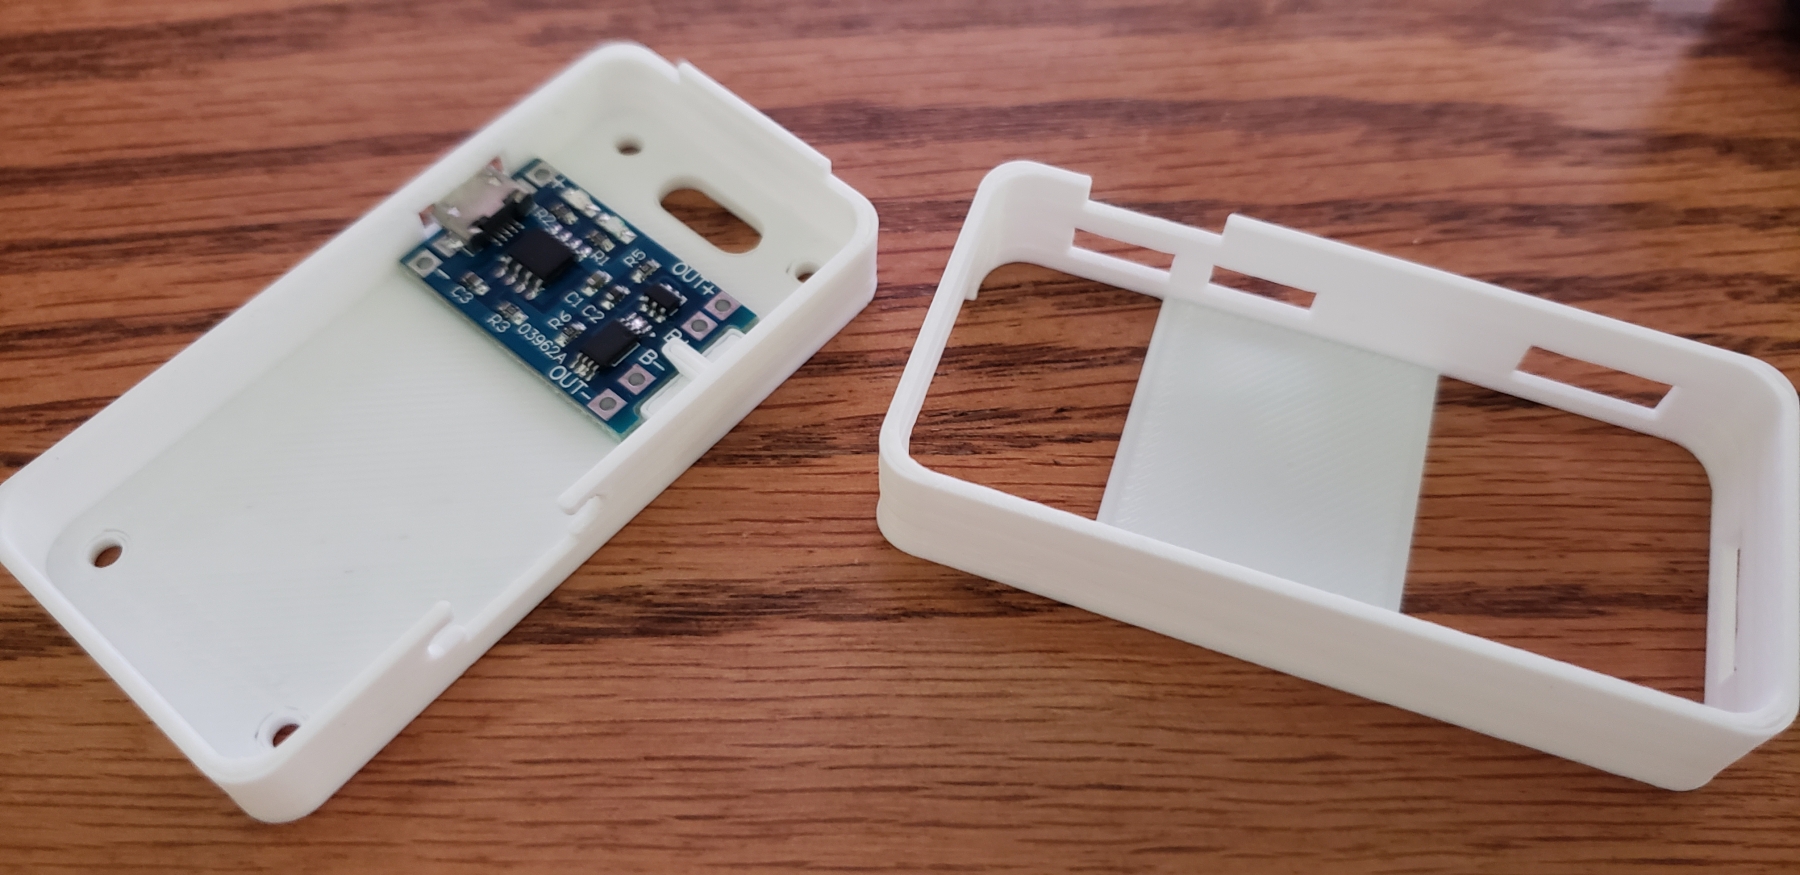
I have finally gotten around to modeling and printing some fairly nice fitting middle and bottom sections.
I still want to work out a few items such as, charging module retention, overall thickness (I wanna make it smaller!) and some interlocking sections between each layer of the build.
This is just the base case together, I still need to wire it all back up and do abit more play time on it to see how it fairs.
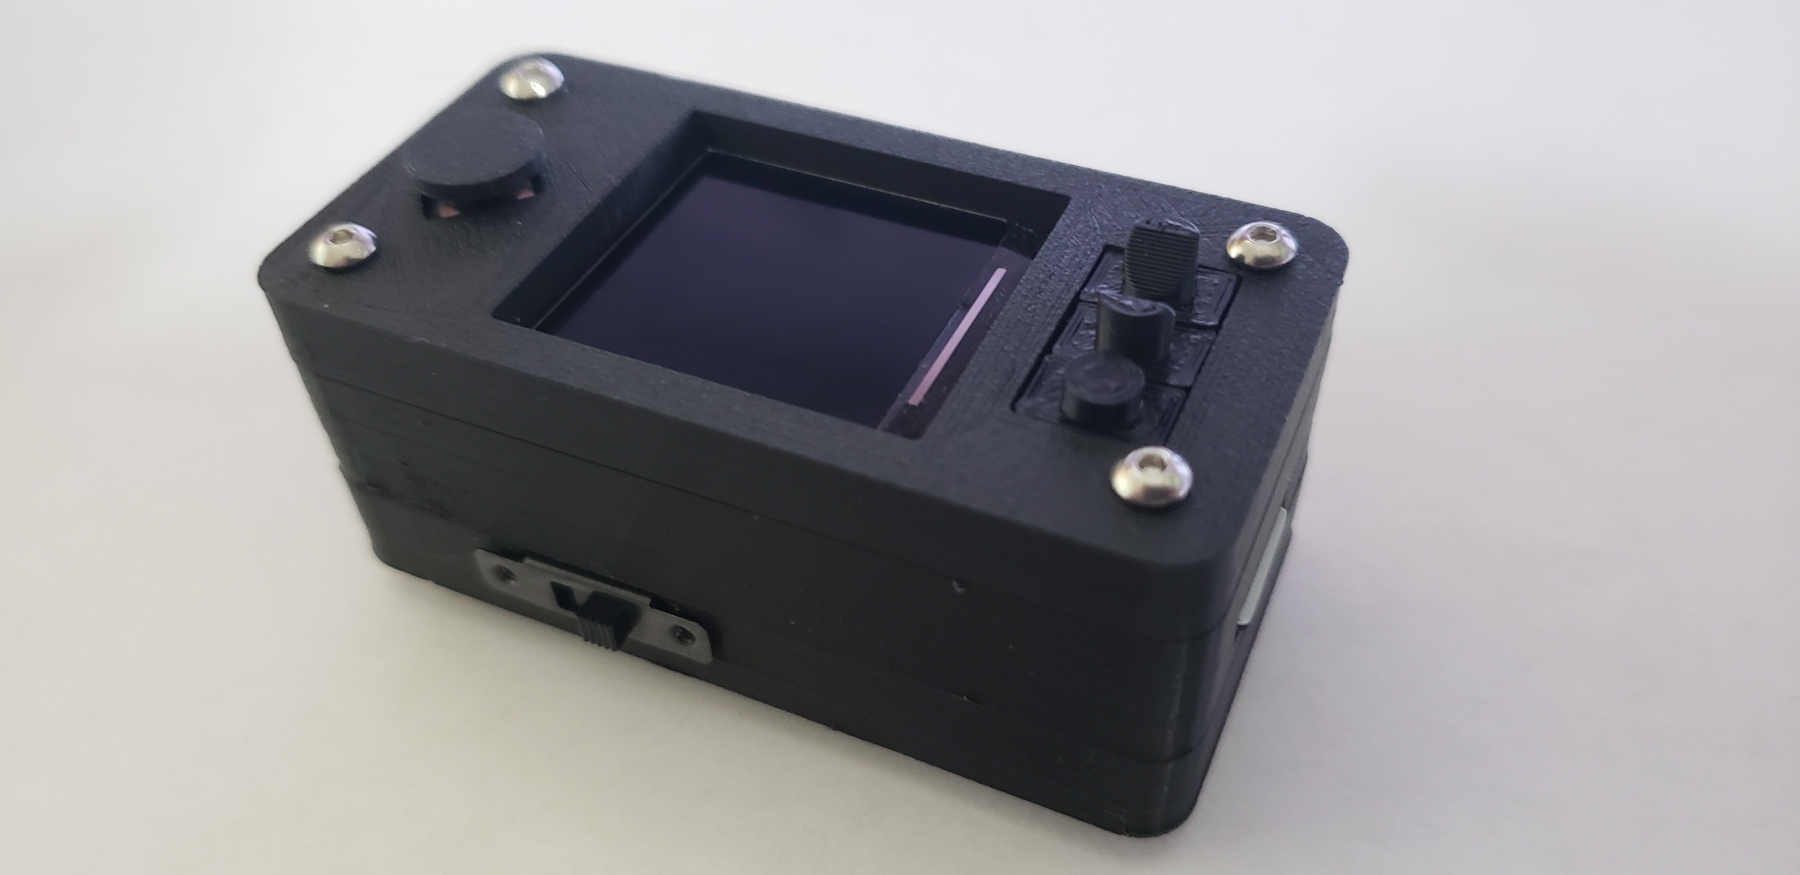
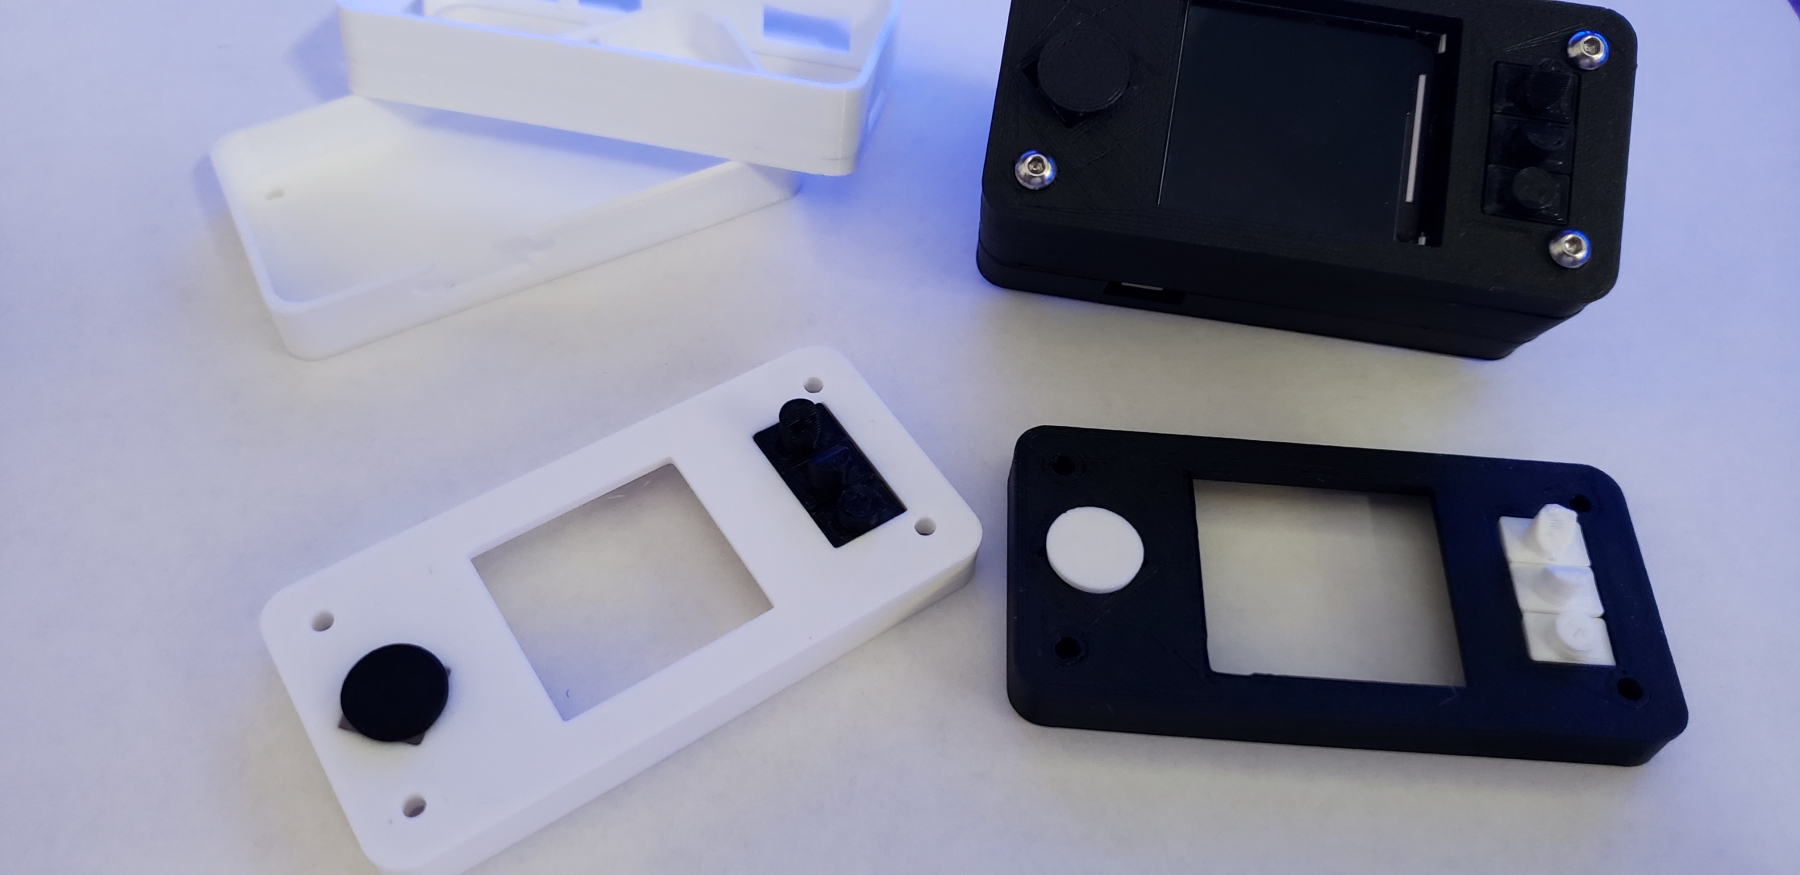
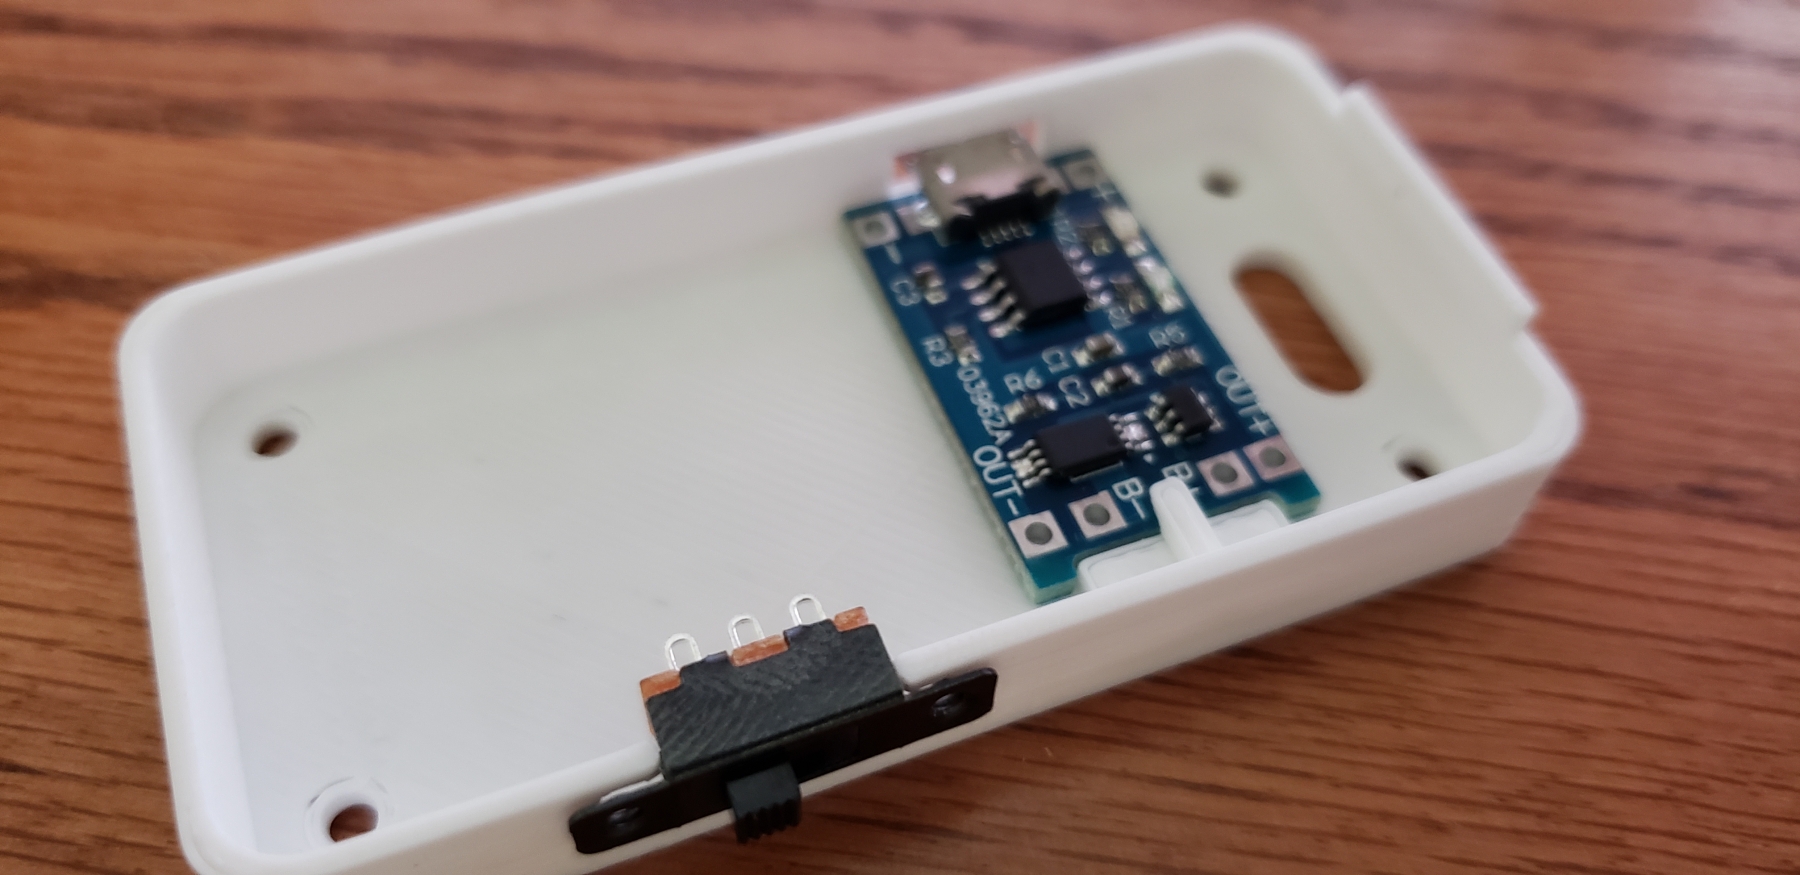
Now that the base build is together, I've started tinkering with different colors and mix matching everything, I've also begun working out some design details in the lower portions of the case such as a small clip to hold the charging module in place.
I've also added a bit of support in the middle layer housing the Pi itself, I'm going to test the fitment this weekend and make sure everything still fits together. Though I have a few other design ideas in mind just in case this doesn't work as planned.
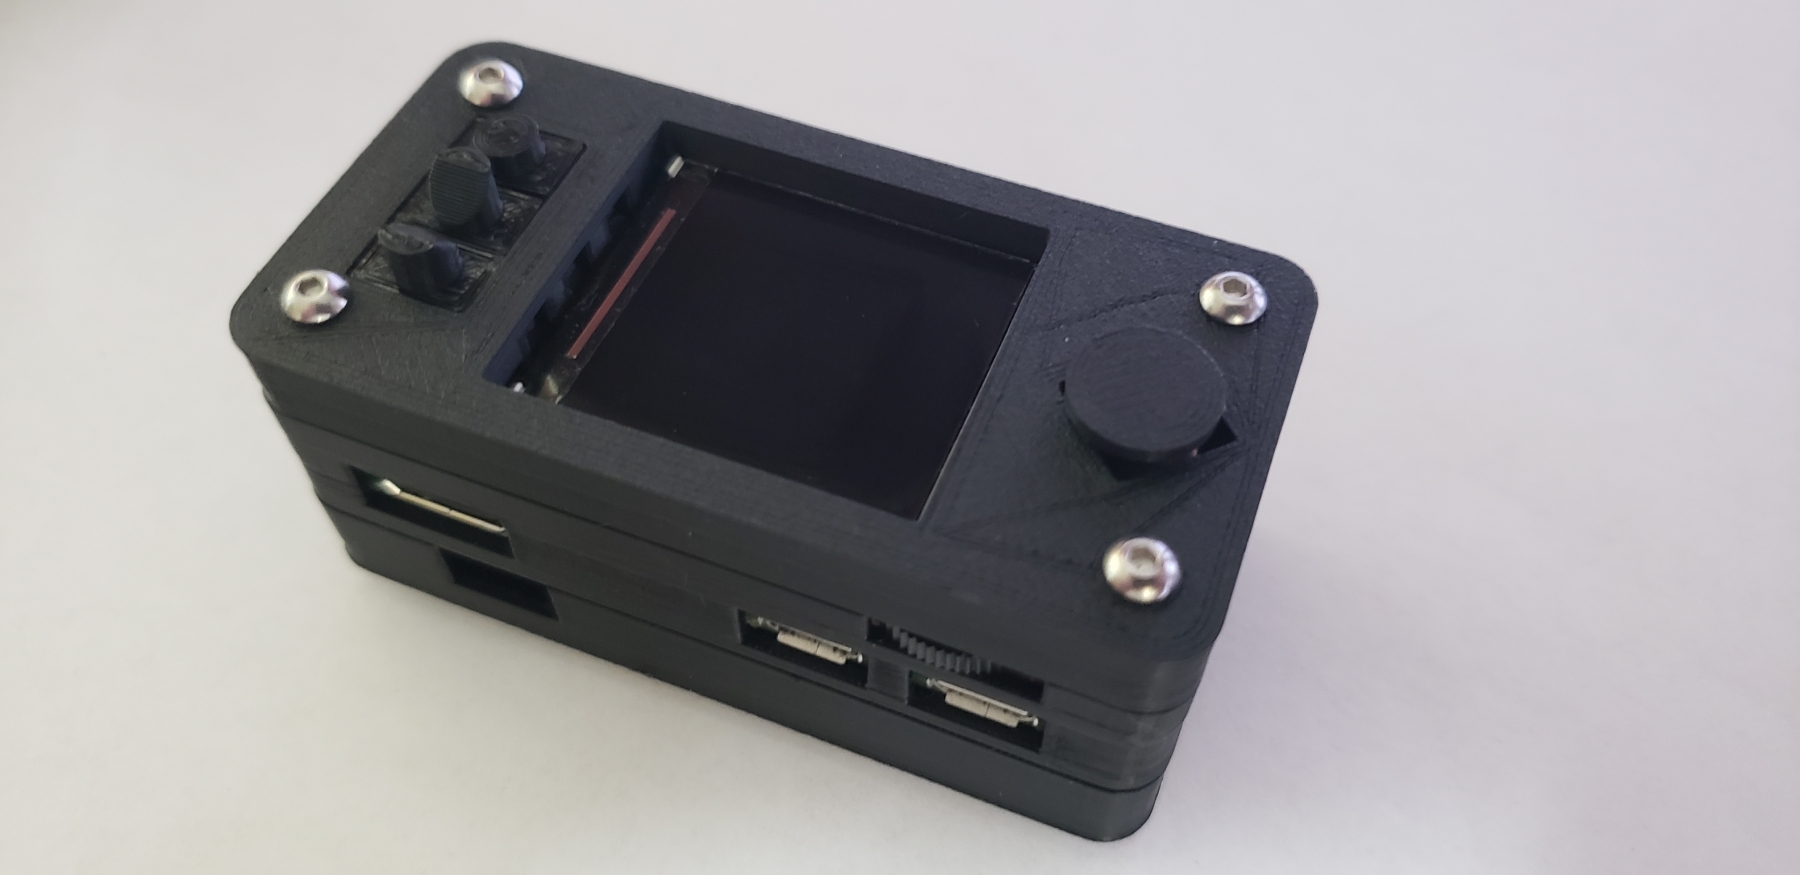
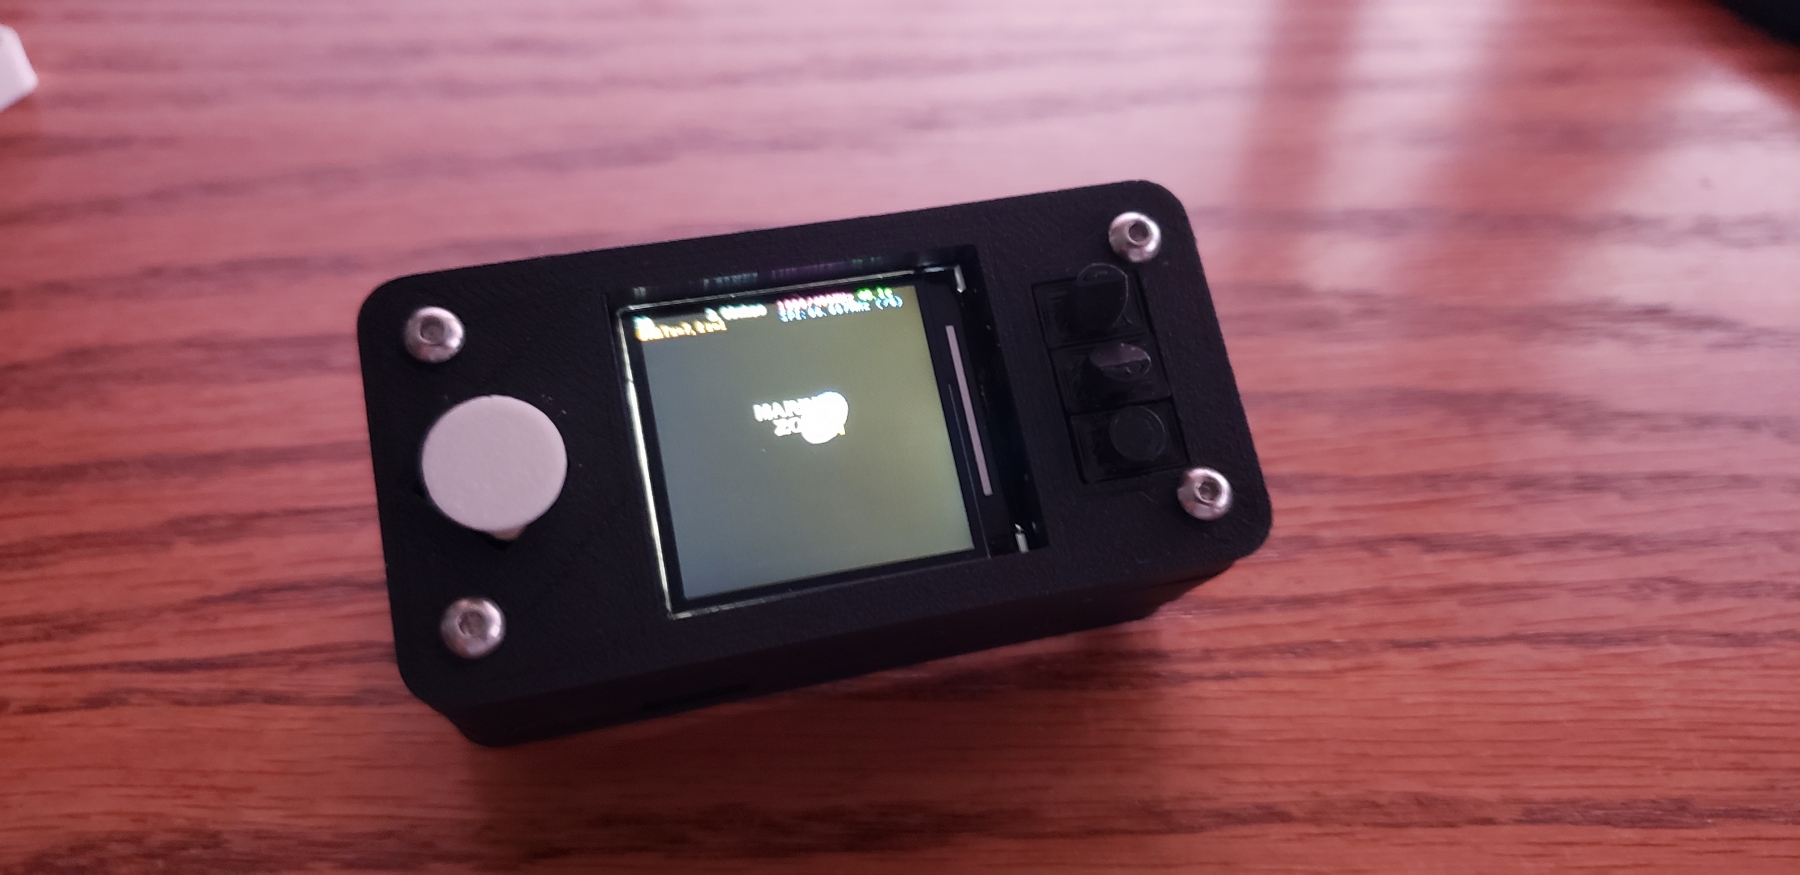
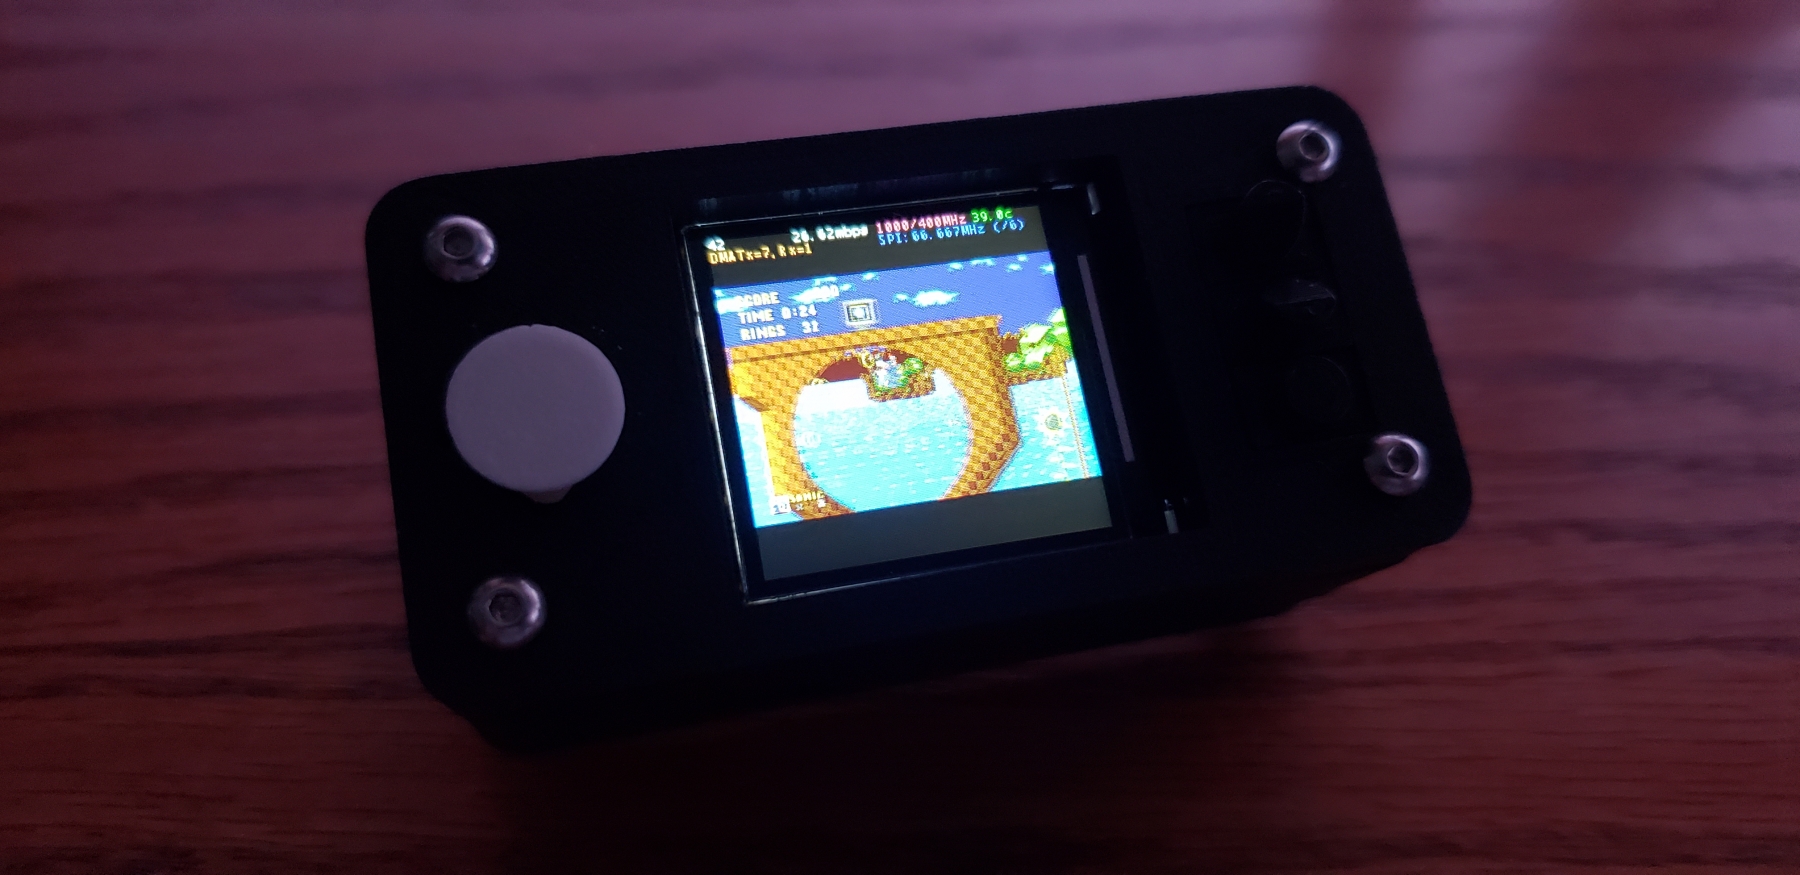
And of course, a couple of action shots to wrap things up for now!
Well work has been killing me, and this weekend looks rough as well. But I still managed to build out V2 of the full case design.
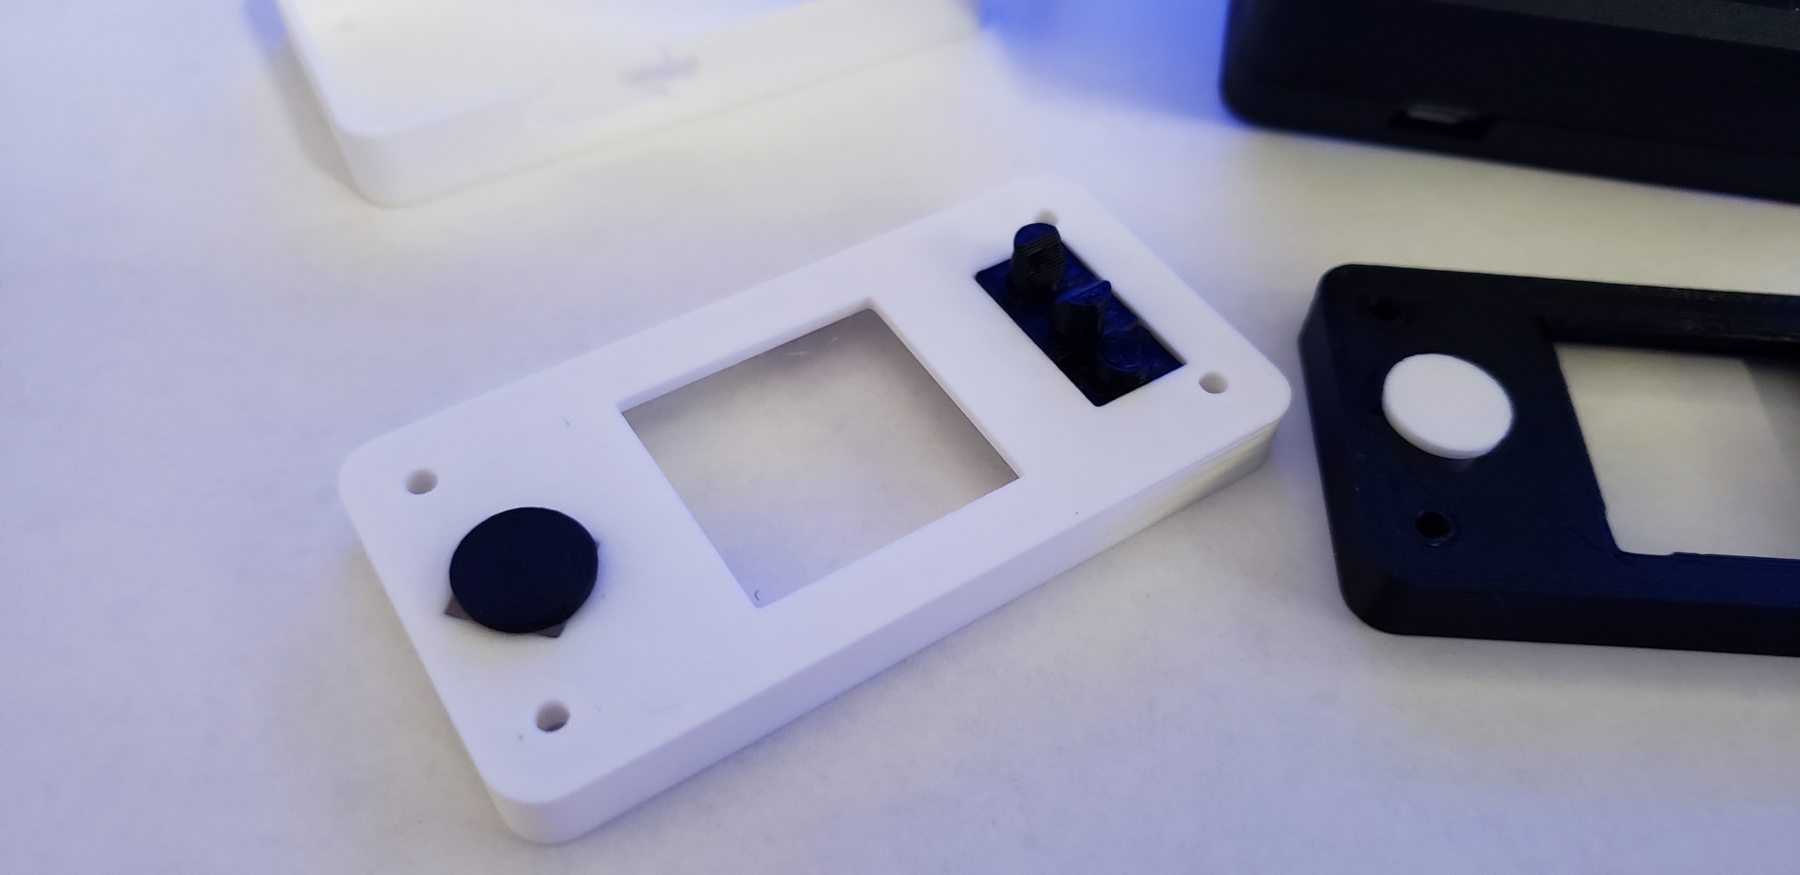
I added rounded / beveled edges to the top and bottom, for abit more comfort while using the device.
I redesigned buttons A and B to be abit smoother and less sharp on the finger while playing
I've updated the charging module mount tabs, its now secured into place with out screws or tape or glue etc.
I've added additional stability tabs on the top and bottom layers to line all the parts up and avoid flexing of the case.
I've added a brace in the middle layer for abit more regidity.
I should be able to print the new design tomorrow and work on an assembly video this weekend.
PinkyPi - Official release version 1.0
The files are now available on Thingiverse
I'm finally printing off a few versions of the case build 1.0 Public and getting ready for some more assembly into the new design.
I'm going to print a few different colors and mix them up abit for some flair. once I have it all laid out, I'll focus back on cleaning up the walk-thru as well as an instructional video.
My last goal is to work up some prefab PCBs for an easier assembly process for those that wish to build this themselves.
Version 1.2 based of the Public Thingiverse source I released is now together and undergoing play testing.
I've discovered I need to modify the Pi middle mayer bracing, so it doesn't cover up the 5v+/- pads on the bottom of the Pi. These pads are used to connect power from the lower battery layer.
I am also debating how to redesign the "A" and "B" buttons to be abit smoother, but the new versions are much better during game play. Lastly I updated the joystick to a larger version with a beveled edge, and it seems to work a ton better while playing the device.
I'm also still debating putting some kind of lip around each layer to help everything line up and stay together, but so far its held up well with minimal to no flexing between layers.
I shot video while rebuilding the new version, and once I get it all slapped together, I'll post the build video!
I am wrapping up the final touches on the "Slim" model, a 2 layer version with out the battery and charger. This is an optional setup if you want a smaller device and don't mind the need to plug in USB power.
Once I finish up the fitment verification, I will upload the files to Thingiverse.
I am debating a giveaway with 1 free PinkyPi game console. Register on our forums for details and leave a comment if you would like a chance to win.
I would love one! Also, I was wondering what the capacitor does for this circuit. I'm trying to build my understanding of electronics, and you're helping! 🙂
I would love one! Also, I was wondering what the capacitor does for this circuit. I'm trying to build my understanding of electronics, and you're helping! 🙂
I am working on kits that will be available for sale here shortly =)
As for the capacitor in the audio circuit, it helps level the high frequencies from audio feed. Stripping out the hiss and feedback from the electronics and cross talk with everything sitting so close.
Glad to see you like the project, feel free to ask any other questions you mave have =)
I am about to print PinkyPi version 2.0.
I've completely redesigned the case from scratch, expanding the side walls from 1.2mm to 1.5mm, this allows the printer to print this case more efficiently.
I've also added a larger support base to the middle layer, and increased the top and bottom thickness to 3mm total.
Lastly the buttons have been drastically redesigned and now have a larger footprint on your finger and don't cause hot spots while playing.
A few items I've noticed, the 500mAh batteries I was using is no longer available. I've ordered a different brand and they look like they will interfere with the power switch, thus I'm trying to find an alternative source to get the correct size/shape battery. I am also debating re-working the speaker location abit as it seems to get covered by your left fingers while playing. This is minor, but still a nuisance and may get a re-design.
Once I verify the fitment and performance of this design, it will be added to Thingiverse
Someone recently released a 1.54 inch game hat with x and y buttons, shoulder buttons, and start and select buttons. I can only find it on Ali express btw.
You should hop on this
Someone recently released a 1.54 inch game hat with x and y buttons, shoulder buttons, and start and select buttons. I can only find it on Ali express btw.
You should hop on this
I like it!
It doesn't look like there is much to actually have a case or supports, so I'll order one this week and see what I can do with it.
I am currently working on a larger version called PiBro with a 2.4inch LCD, Analog stick, ABXY buttons, Start/Select and triggers.
Lastly I have a 1.4inch version of the 3 button hat by waveshare, I may make a second version of the top to utilize the larger 1.4 inch screen (although the resolution is only 128x128, compared to the current screen is 240x240)
Version 2.0 of PinkyPi has been printed too, thicker walls and faster print time... I hope to have the build video ready this week, and start on the PCB design
PCB design! I'm interested now. I'd love to see what you can do!
